Build a Great Nest.js Blog: Visitor Analytics
Min-jun Kim
Dev Intern · Leapcell

In the previous tutorial, we integrated a full-text search feature into our blog, making it easier to find good content.
Now, as your blog becomes more feature-rich and your content grows, a new question naturally arises: which articles are most popular with readers?
Understanding your readers' interests can help you create higher-quality content.
Therefore, in this tutorial, we will add a basic but very important feature to our blog: visitor tracking. We will record the number of times each article is read and display the view count on the page.
You might consider using a third-party service like Google Analytics. However, building a backend-driven tracking system ourselves allows us to keep more data in our own hands and customize what data we want to collect.
Let's get started:
Step 1: Create the Data Model for View Records
Create the Database Table
Execute the following SQL statement in your PostgreSQL database to create the page_view table. This table will record the time of each view, the corresponding post, and some visitor information (like IP address and User-Agent) for future in-depth analysis.
CREATE TABLE "page_view" (
    "id" UUID PRIMARY KEY DEFAULT gen_random_uuid(),
    "createdAt" TIMESTAMPTZ NOT NULL DEFAULT NOW(),
    "postId" UUID REFERENCES "post"("id") ON DELETE CASCADE,
    "ipAddress" VARCHAR(45),
    "userAgent" TEXT
);
ON DELETE CASCADEensures that when a post is deleted, all its associated view records are also automatically cleared.
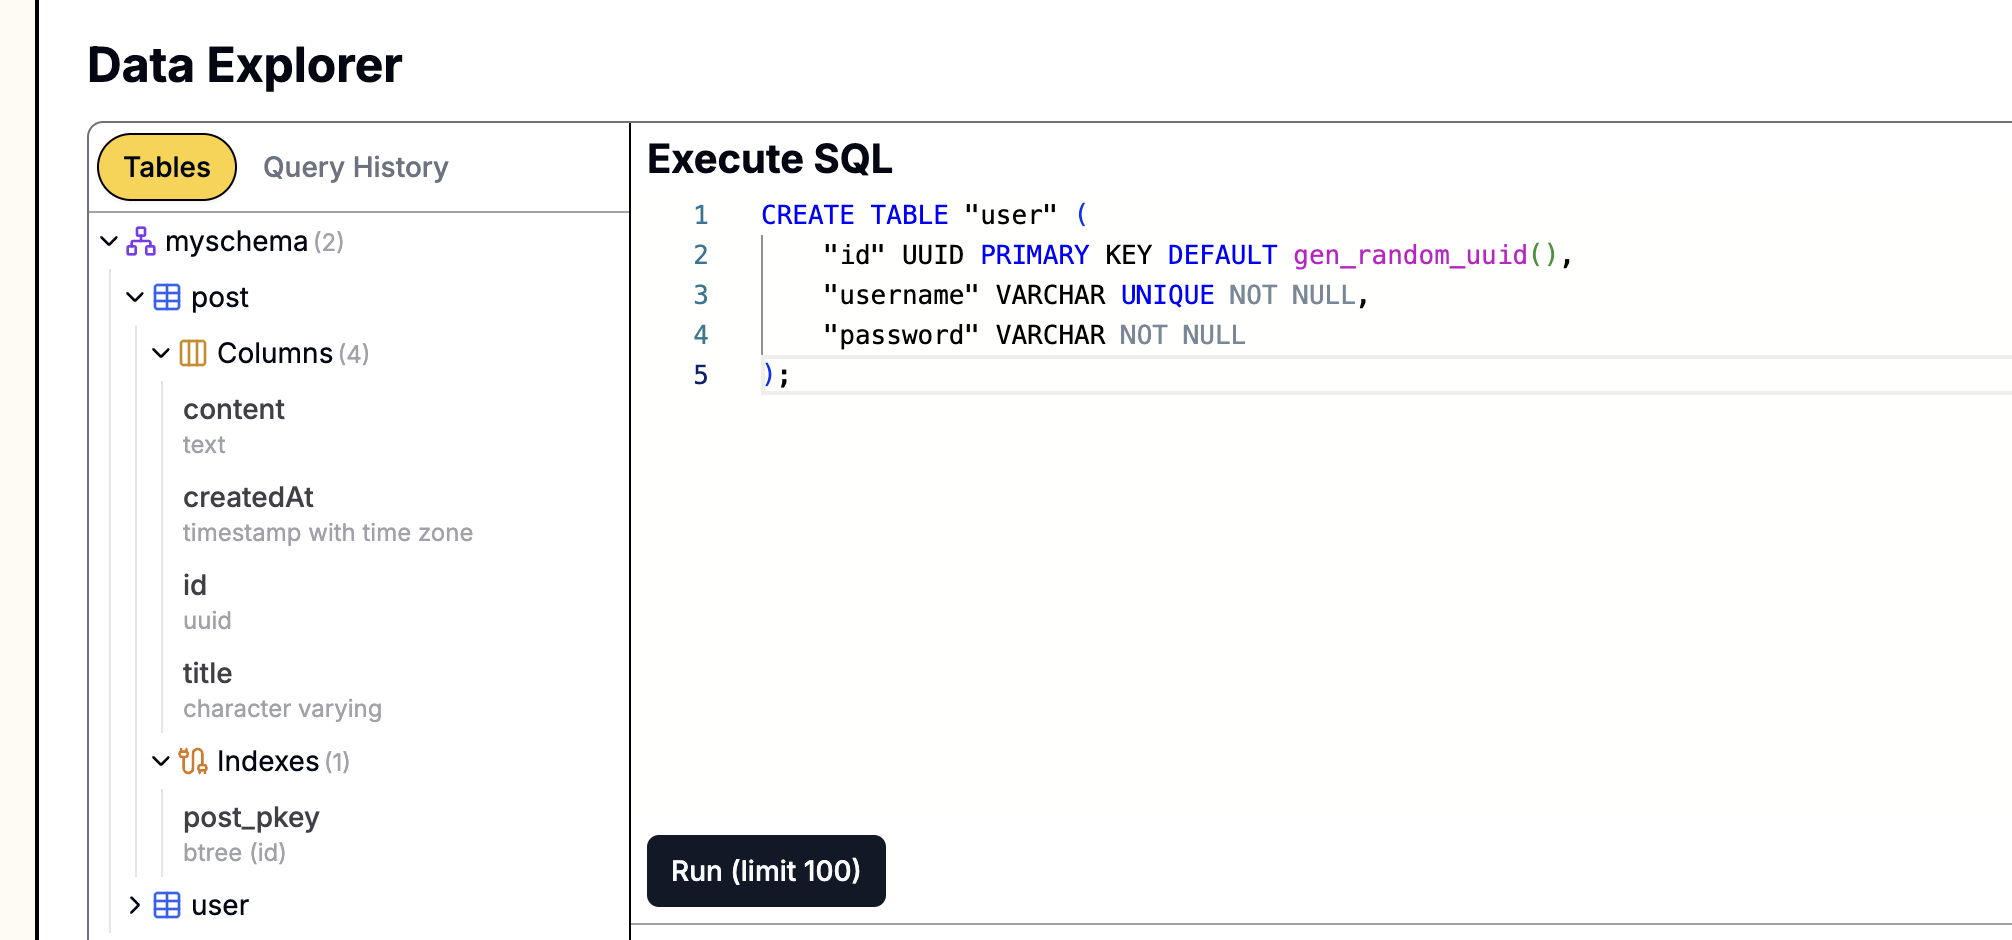
If your database was created on Leapcell,

you can easily execute SQL statements using the graphical interface. Just go to the Database management page on the website, paste the above statement into the SQL interface, and run it.
Create the PageView Entity
Next, let's create a new module for this tracking feature.
nest generate module tracking
nest generate service tracking
Create a page-view.entity.ts file in the src/tracking directory:
// src/tracking/page-view.entity.ts
import { Entity, PrimaryColumn, CreateDateColumn, ManyToOne, Column } from 'typeorm';
import { Post } from '../posts/post.entity';

@Entity()
export class PageView {
  @PrimaryColumn({ type: 'uuid', default: () => 'gen_random_uuid()' })
  id: string;

  @CreateDateColumn()
  createdAt: Date;

  @ManyToOne(() => Post, { onDelete: 'CASCADE' })
  post: Post;

  @Column({ type: 'varchar', length: 45, nullable: true })
  ipAddress: string;

  @Column({ type: 'text', nullable: true })
  userAgent: string;
}
Step 2: Implement the Tracking Service
The TrackingService will be responsible for handling all logic related to view records, including recording new views and querying view counts.
Register the PageView Entity
Open src/tracking/tracking.module.ts, register the TypeOrmModule, and export the TrackingService.
// src/tracking/tracking.module.ts
import { Module } from '@nestjs/common';
import { TypeOrmModule } from '@nestjs/typeorm';
import { TrackingService } from './tracking.service';
import { PageView } from './page-view.entity';

@Module({
  imports: [TypeOrmModule.forFeature([PageView])],
  providers: [TrackingService],
  exports: [TrackingService],
})
export class TrackingModule {}
Write the Service Logic
Modify src/tracking/tracking.service.ts to add methods for recording and querying.
// src/tracking/tracking.service.ts
import { Injectable } from '@nestjs/common';
import { InjectRepository } from '@nestjs/typeorm';
import { Repository } from 'typeorm';
import { PageView } from './page-view.entity';
import { Post } from '../posts/post.entity';

@Injectable()
export class TrackingService {
  constructor(
    @InjectRepository(PageView)
    private pageViewRepository: Repository<PageView>
  ) {}

  async recordView(post: Post, ipAddress: string, userAgent: string): Promise<void> {
    const newView = this.pageViewRepository.create({
      post,
      ipAddress,
      userAgent,
    });
    await this.pageViewRepository.save(newView);
  }

  async getCountByPostId(postId: string): Promise<number> {
    return this.pageViewRepository.count({
      where: { post: { id: postId } },
    });
  }

  // For efficiency, fetch view counts for multiple posts at once
  async getCountsByPostIds(postIds: string[]): Promise<Record<string, number>> {
    if (postIds.length === 0) {
      return {};
    }

    const counts = await this.pageViewRepository
      .createQueryBuilder('page_view')
      .select('page_view.postId', 'postId')
      .addSelect('COUNT(*)', 'count')
      .where('page_view.postId IN (:...postIds)', { postIds })
      .groupBy('page_view.postId')
      .getRawMany();

    const result: Record<string, number> = {};
    counts.forEach((item) => {
      result[item.postId] = parseInt(item.count, 10);
    });

    return result;
  }
}
The
getCountsByPostIdsmethod uses TypeORM'sQueryBuilderto write SQL directly, enabling a more efficientGROUP BYquery. This is much faster than running a separatecountquery for each post, especially when the homepage needs to display view counts for many articles.
Step 3: Integrate View Recording on the Post Page
Next, we need to call the TrackingService's recordView method every time a visitor views an article. The most suitable place for this is the post method in the PostsController, which fetches the blog post content.
First, import TrackingModule into src/posts/posts.module.ts.
// src/posts/posts.module.ts
// ...
import { TrackingModule } from '../tracking/tracking.module';

@Module({
  imports: [TypeOrmModule.forFeature([Post]), CommentsModule, TrackingModule], // Import TrackingModule
  controllers: [PostsController],
  providers: [PostsService],
})
export class PostsModule {}
Then, inject and call the TrackingService in the PostsController.
// src/posts/posts.controller.ts
import { Controller, Get, Render, Param, Request } from '@nestjs/common';
import { PostsService } from './posts.service';
import { CommentsService } from '../comments/comments.service';
import { TrackingService } from '../tracking/tracking.service'; // Import
import { marked } from 'marked';

@Controller('posts')
export class PostsController {
  constructor(
    private readonly postsService: PostsService,
    private readonly commentsService: CommentsService,
    private readonly trackingService: TrackingService // Inject
  ) {}

  // ... other methods

  @Get(':id')
  @Render('post')
  async post(@Param('id') id: string, @Request() req) {
    const post = await this.postsService.findOne(id);
    const comments = await this.commentsService.findByPostId(id);
    const viewCount = await this.trackingService.getCountByPostId(id);

    if (post) {
      // Record a view
      this.trackingService.recordView(post, req.ip, req.headers['user-agent']);

      post.content = marked.parse(post.content) as string;
    }

    return { post, user: req.session.user, comments, viewCount };
  }
}
Note: We did not use await for the recordView method. This is a "fire-and-forget" call. We want to avoid delaying the response to the reader for the secondary operation of recording a view. The article page should be returned to the reader as quickly as possible, regardless of whether the recording succeeds.
Step 4: Display the View Count on the Frontend
Post Detail Page
In the previous step, we already fetched the viewCount and passed it to the post.ejs template. Now we just need to display it in the template.
Open views/post.ejs and add the view count in the post's meta-information area:
<article class="post-detail">
  <h1><%= post.title %></h1>
  <small> <%= new Date(post.createdAt).toLocaleDateString() %> | Views: <%= viewCount %> </small>
  <div class="post-content"><%- post.content %></div>
</article>
Blog Homepage
To also display the view count in the post list on the homepage, we need to make some adjustments to PostsService and PostsController.
Update src/posts/posts.service.ts:
We will create a new method to get the list of posts with their view counts.
// src/posts/posts.service.ts
@Injectable()
export class PostsService {
  // ... constructor

  // Interface to combine Post with its view count
  public async findAllWithViewCount(trackingService: TrackingService): Promise<any[]> {
    const posts = await this.findAll();
    const postIds = posts.map((post) => post.id);
    const viewCounts = await trackingService.getCountsByPostIds(postIds);

    return posts.map((post) => ({
      ...post,
      viewCount: viewCounts[post.id] || 0,
    }));
  }

  // ... other methods
}
Update src/posts/posts.controller.ts:
Modify the root method to use our newly created service method.
// src/posts/posts.controller.ts
// ...
export class PostsController {
  // ... constructor

  @Get()
  @Render('index')
  async root(@Request() req) {
    const posts = await this.postsService.findAllWithViewCount(this.trackingService);
    return { posts, user: req.session.user };
  }

  // ...
}
Finally, update the views/index.ejs template to display the view count.
<div class="post-list">
  <% posts.forEach(post => { %>
  <article class="post-item">
    <h2><a href="/posts/<%= post.id %>"><%= post.title %></a></h2>
    <p><%= post.content.substring(0, 150) %>...</p>
    <small> <%= new Date(post.createdAt).toLocaleDateString() %> | Views: <%= post.viewCount %></small>
  </article>
  <% }) %>
</div>
Run and Test
Restart your application:
npm run start:dev
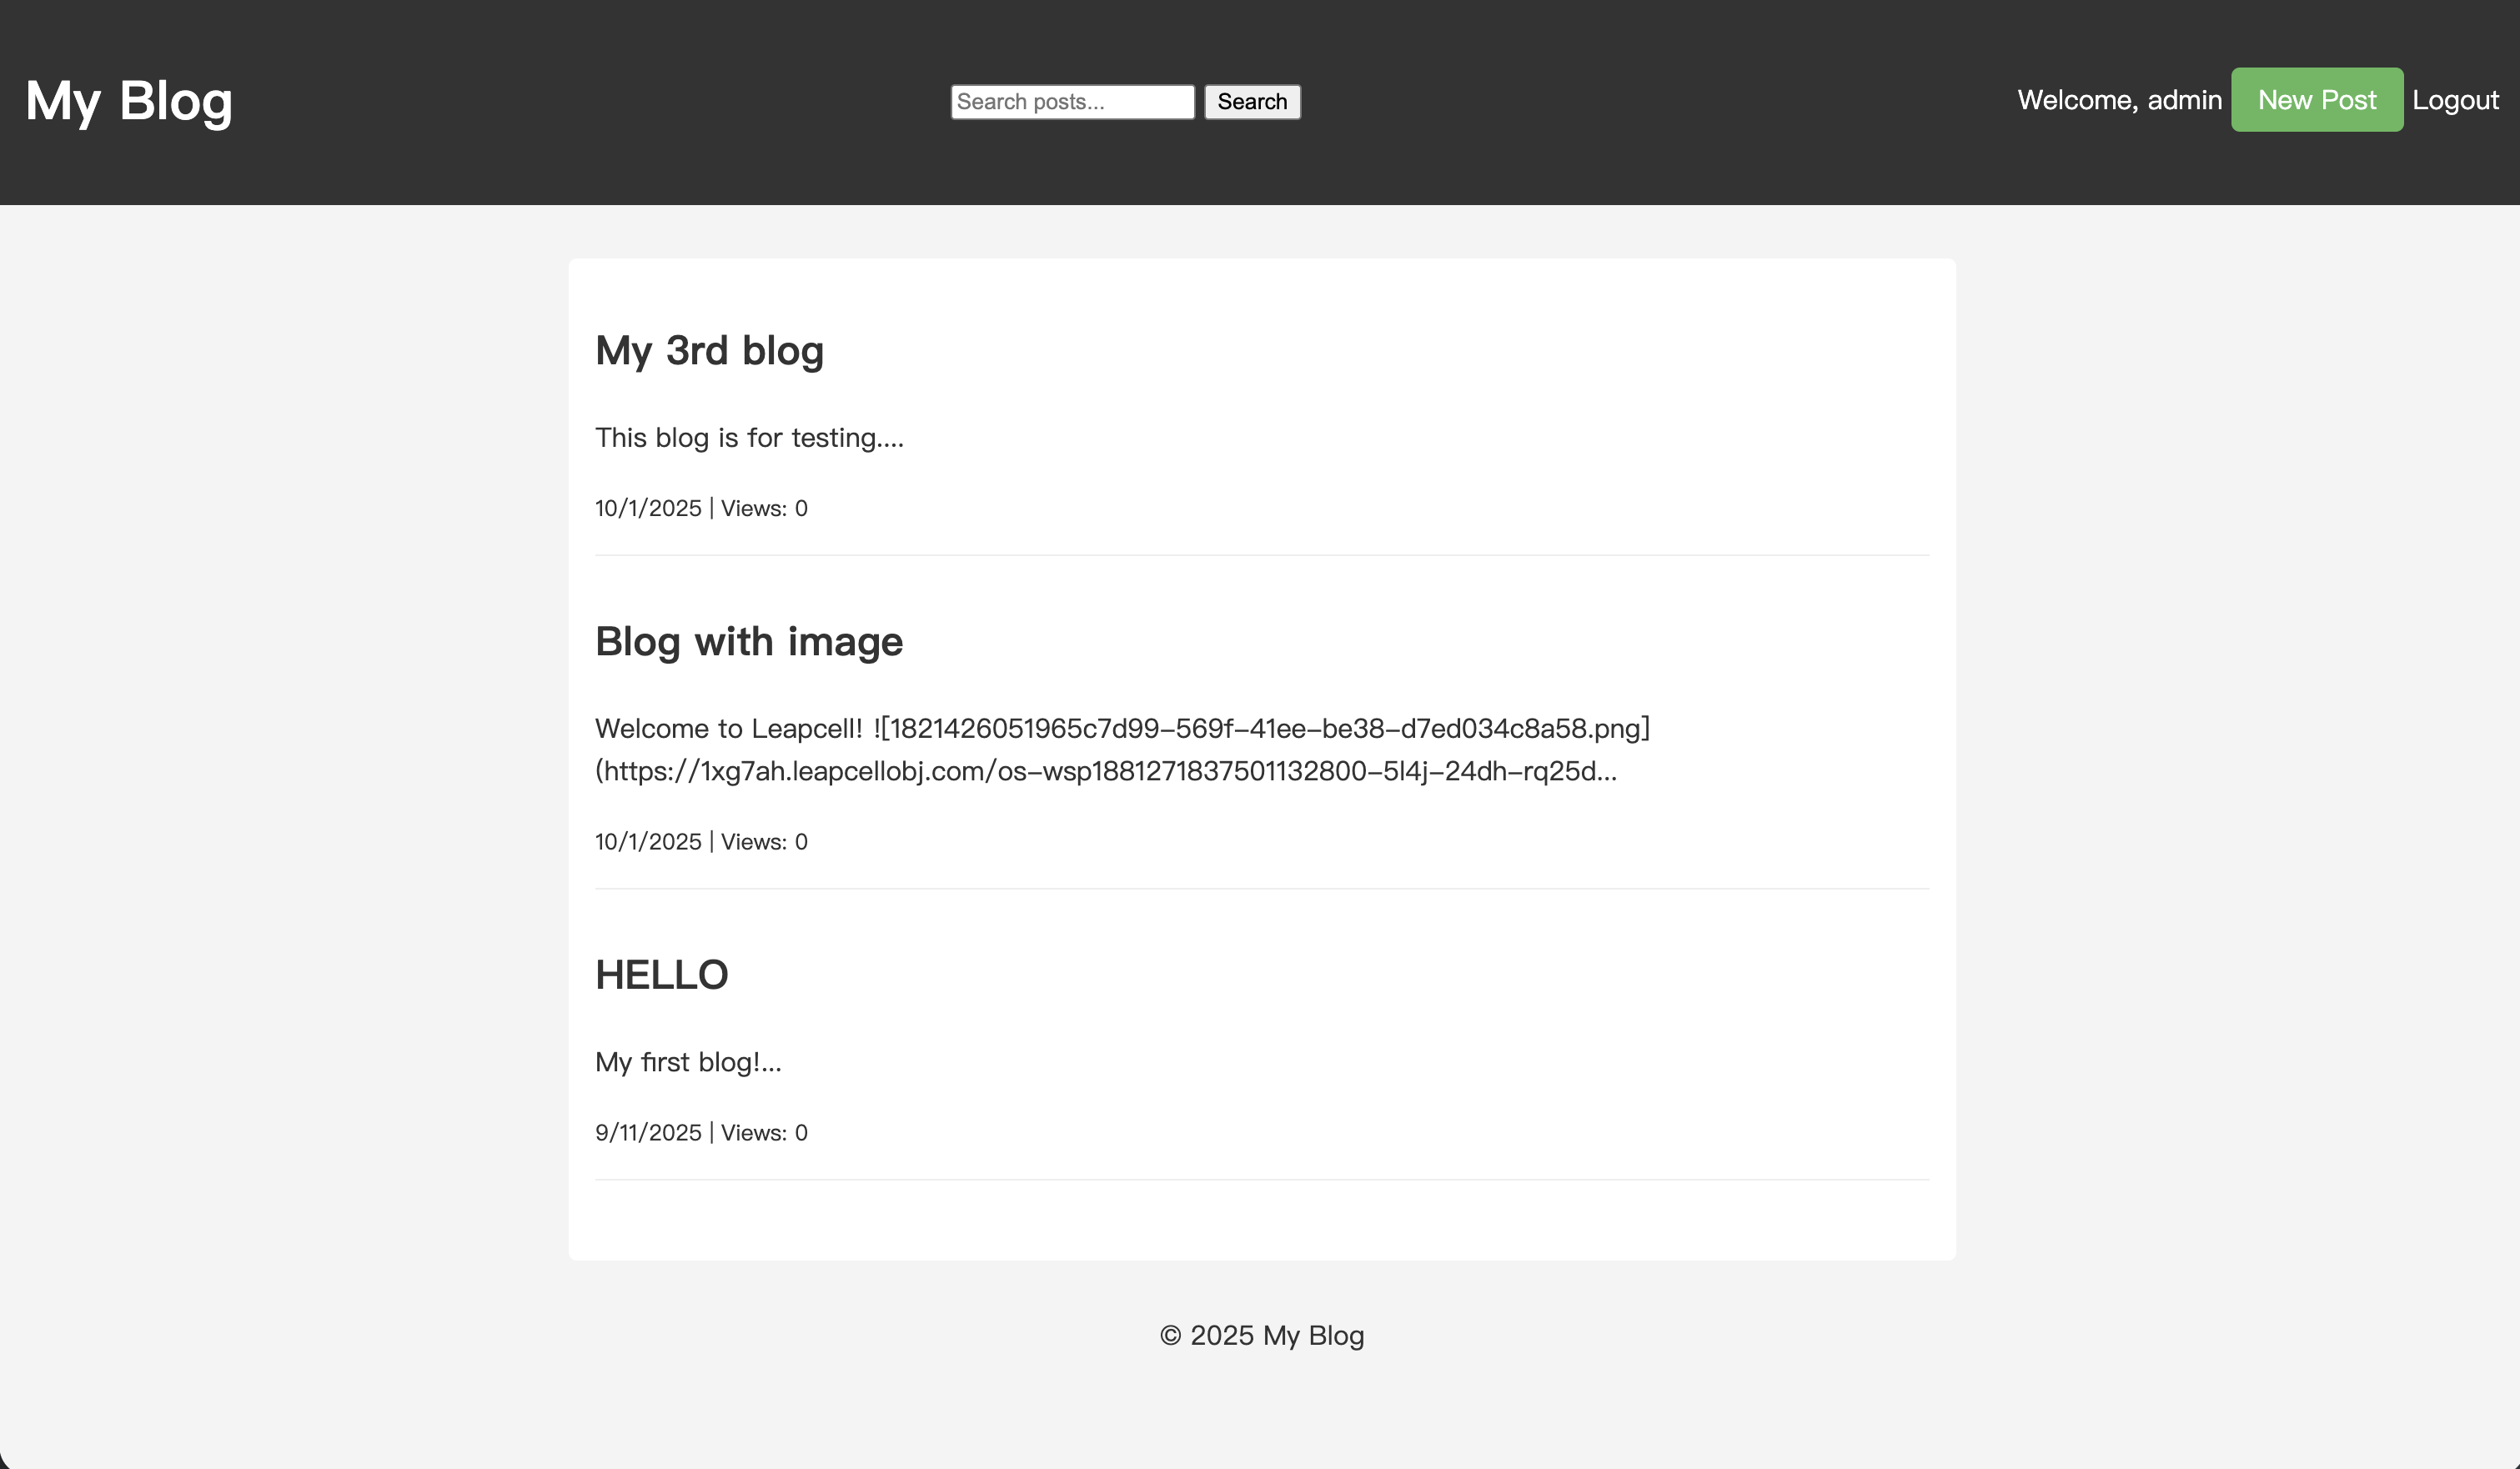
Open your browser and visit the page: http://localhost:3000/
In the blog list, you will see "Views: 0" next to each article.
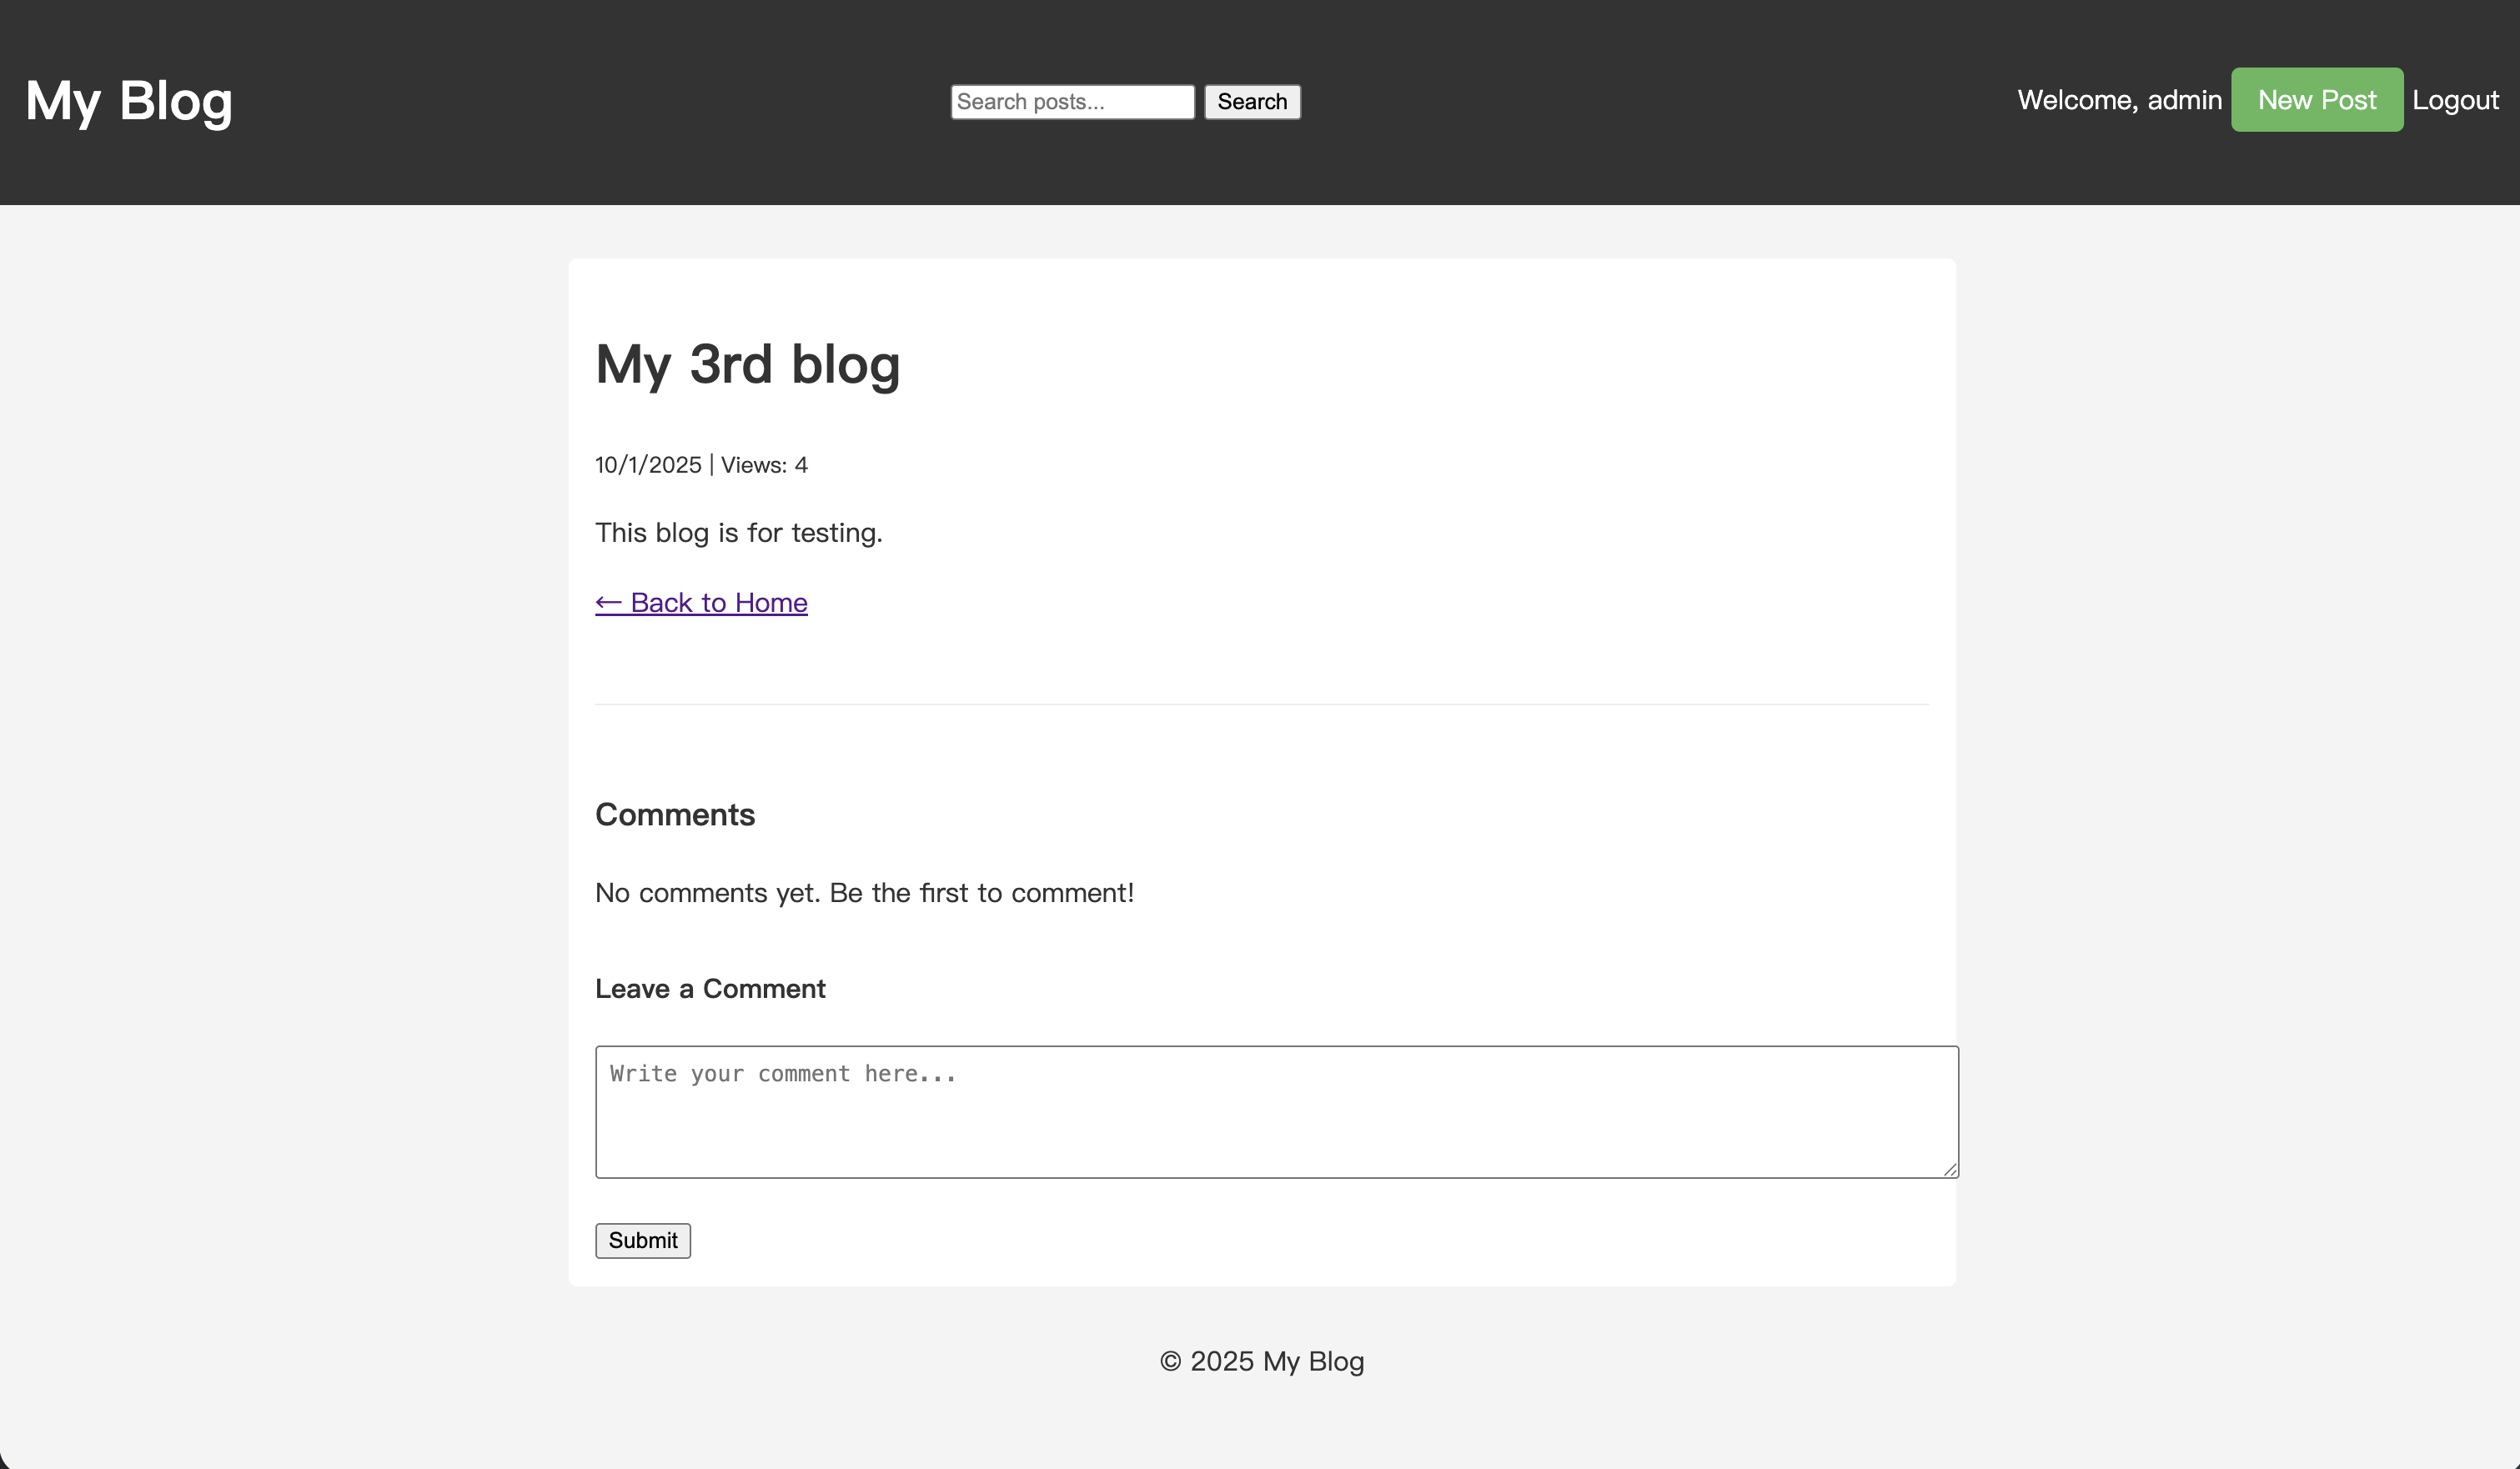
Click to enter the detail page of any article and refresh the page a few times. You will notice that the view count for this article has increased accordingly.
Conclusion
You have now successfully added a backend view count tracking system to your Nest.js blog. User visit data is now in your hands.
With this raw data, you can perform more in-depth data operations and analysis. For example:
- Deduplication: Count multiple visits from the same IP address within a certain time window (e.g., one day) as a single view.
- Bot Filtering: Identify and filter out visits from search engine crawlers by analyzing the
User-Agent. - Data Dashboard: Create a private page to visualize article view trends with charts.
The data is all yours, so we'll leave these explorations up to you.
If your blog is deployed on Leapcell, Leapcell has already automatically enabled its Web Analytics feature for it (which is completely free).
Leapcell's Web Analytics includes many practical and powerful visitor analysis capabilities. You can easily use it to perform basic analysis of visitor behavior without the hassle of developing it yourself.

Previous Tutorials:
- Build a Great Nest.js Blog: Full-Text Search for Posts
- Build a Great Nest.js Blog: Upload Image
- Build a Great Nest.js Blog: Reply Comment
- Build a Great Nest.js Blog: Comment System
- Build a Great Nest.js Blog: Add Authorization
- Build a Great Nest.js Blog: Add User System
- 10 Minutes from First Line of Code to Live Deployment: A Super Fast Nest.js Blog Course