Build a Docusaurus-like Site with FastAPI: Step 1 - HTML Template
Grace Collins
Solutions Engineer · Leapcell

There are many documentation site tools available, but as you try them, you've likely found it frustrating. It seems no single tool meets all your specific needs while remaining simple enough to use.
If that's the case, why not build your own?
In the following series of articles, we will gradually build a documentation site similar to Docusaurus.
This is the first article. We'll start by building a simple backend service that returns a dynamic HTML template page.
Step 1: Environment Setup and Dependency Installation
First, we need to create a project directory and install the necessary dependencies.
Create the project directory:
mkdir fastapi-docs-site
cd fastapi-docs-site
Install core dependencies: We will install three key libraries:
fastapi: Our web framework.uvicorn[standard]: The ASGI server to run FastAPI.jinja2: The engine used for rendering HTML templates.
pip install fastapi "uvicorn[standard]" jinja2
Step 2: Set Up the Project Skeleton
Next, create the following files and folders in the fastapi-docs-site root directory:
fastapi-docs-site/
├── main.py           # Our main FastAPI application file
├── static/           # To store static files like CSS, JS, images
└── templates/        # To store Jinja2 HTML templates
main.py: This will hold all our FastAPI application logic and routes.templates/: Jinja2 will look for HTML template files here by default.static/: FastAPI will use this directory to serve static files (we'll use this in a future article).
Step 3: Write Your First FastAPI App (JSON Version)
Before we start with template rendering, let's first ensure that FastAPI itself is working correctly.
Open main.py and enter the following basic code:
# main.py
from fastapi import FastAPI

# Instantiate the FastAPI app
app = FastAPI()

@app.get("/")
async def root():
    """
    Root route, returns a simple JSON response
    """
    return {"message": "Hello FastAPI"}
Open your terminal, make sure you are in the fastapi-docs-site root directory, and run:
uvicorn main:app --reload
main:apprefers to theapp = FastAPI()instance created inmain.py.--reload: This parameter watches for your code changes and automatically restarts the server.
Now, open your browser and visit http://127.0.0.1:8000. You should see:
{ "message": "Hello FastAPI" }
Step 4: Configure the Jinja2 Template Engine
Great, the server is running. But we want HTML, not JSON.
We need to tell FastAPI how to find and use our templates directory.
Modify main.py:
# main.py
from fastapi import FastAPI
# Import Jinja2Templates
from fastapi.templating import Jinja2Templates

# Instantiate the FastAPI app
app = FastAPI()

# Key step: Configure the template directory
# The string "templates" must match the folder name you created
templates = Jinja2Templates(directory="templates")


@app.get("/")
async def root():
    # Keep this as is for now, we'll change it in the next step
    return {"message": "Hello FastAPI"}
Step 5: Create Our First HTML Template
In the templates/ folder, create a new file: index.html.
<!DOCTYPE html>
<html lang="en">
  <head>
    <meta charset="UTF-8" />
    <meta name="viewport" content="width=device-width, initial-scale=1.0" />
    <title>My Docs Site</title>
  </head>
  <body>
    <h1>{{ page_title }}</h1>
    <p>Welcome to our first dynamic page!</p>
  </body>
</html>
Notice <h1>{{ page_title }}</h1>. This isn't pure HTML. {{ ... }} is Jinja2's variable syntax. We will soon pass a value (like "Homepage") dynamically from our FastAPI backend to this page_title variable.
Step 6: Render the Template with TemplateResponse
Final step, let's modify the root route / so it no longer returns JSON, but instead renders our index.html template.
To do this, we need to import the following tools:
Request: This is required for Jinja2 to be able to build correct URLs and context.HTMLResponse: A response class provided by FastAPI specifically for returning HTML.
Modify main.py as follows:
# main.py
from fastapi import FastAPI, Request  # Import Request
from fastapi.templating import Jinja2Templates
from fastapi.responses import HTMLResponse # Import HTMLResponse

app = FastAPI()

templates = Jinja2Templates(directory="templates")


# Note: The route function signature now includes request: Request
@app.get("/", response_class=HTMLResponse)
async def root(request: Request):
    """
    Root route, returns the rendered HTML template
    """
    # 1. The template file name
    template_name = "index.html"

    # 2. The context to pass to the template
    #    "request" is required
    #    "page_title" is our custom variable, corresponding to {{ page_title }} in the HTML
    context = {
        "request": request,
        "page_title": "Hello, Jinja2!"
    }

    return templates.TemplateResponse(template_name, context)
If you had --reload enabled, your server should have restarted automatically.
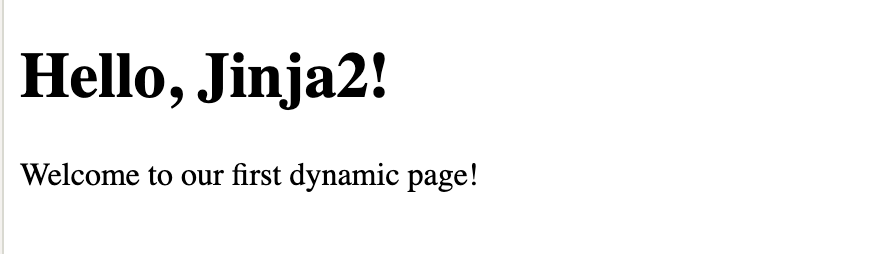
Refresh the page http://127.0.0.1:8000.
You will find the JSON has disappeared, replaced by a rendered HTML page, and the content of the <h1> tag has been dynamically replaced.
Deploying the Project Online
A docs site is meant to be visited by everyone, so just running it locally isn't enough. Next, we can deploy it online.
A simple deployment option is to use Leapcell. It's a web app hosting platform that can host projects in various languages and frameworks, including FastAPI, of course.

Follow the steps below:
1.Register an account on the website.
2.Commit your project to GitHub. You can refer to GitHub's official documentation for the steps. Leapcell will pull the code from your GitHub repository later.
3.Click "Create Service" on the Leapcell page.

4.After choosing your FastAPI repo, you'll see Leapcell has auto-populated the necessary configurations.
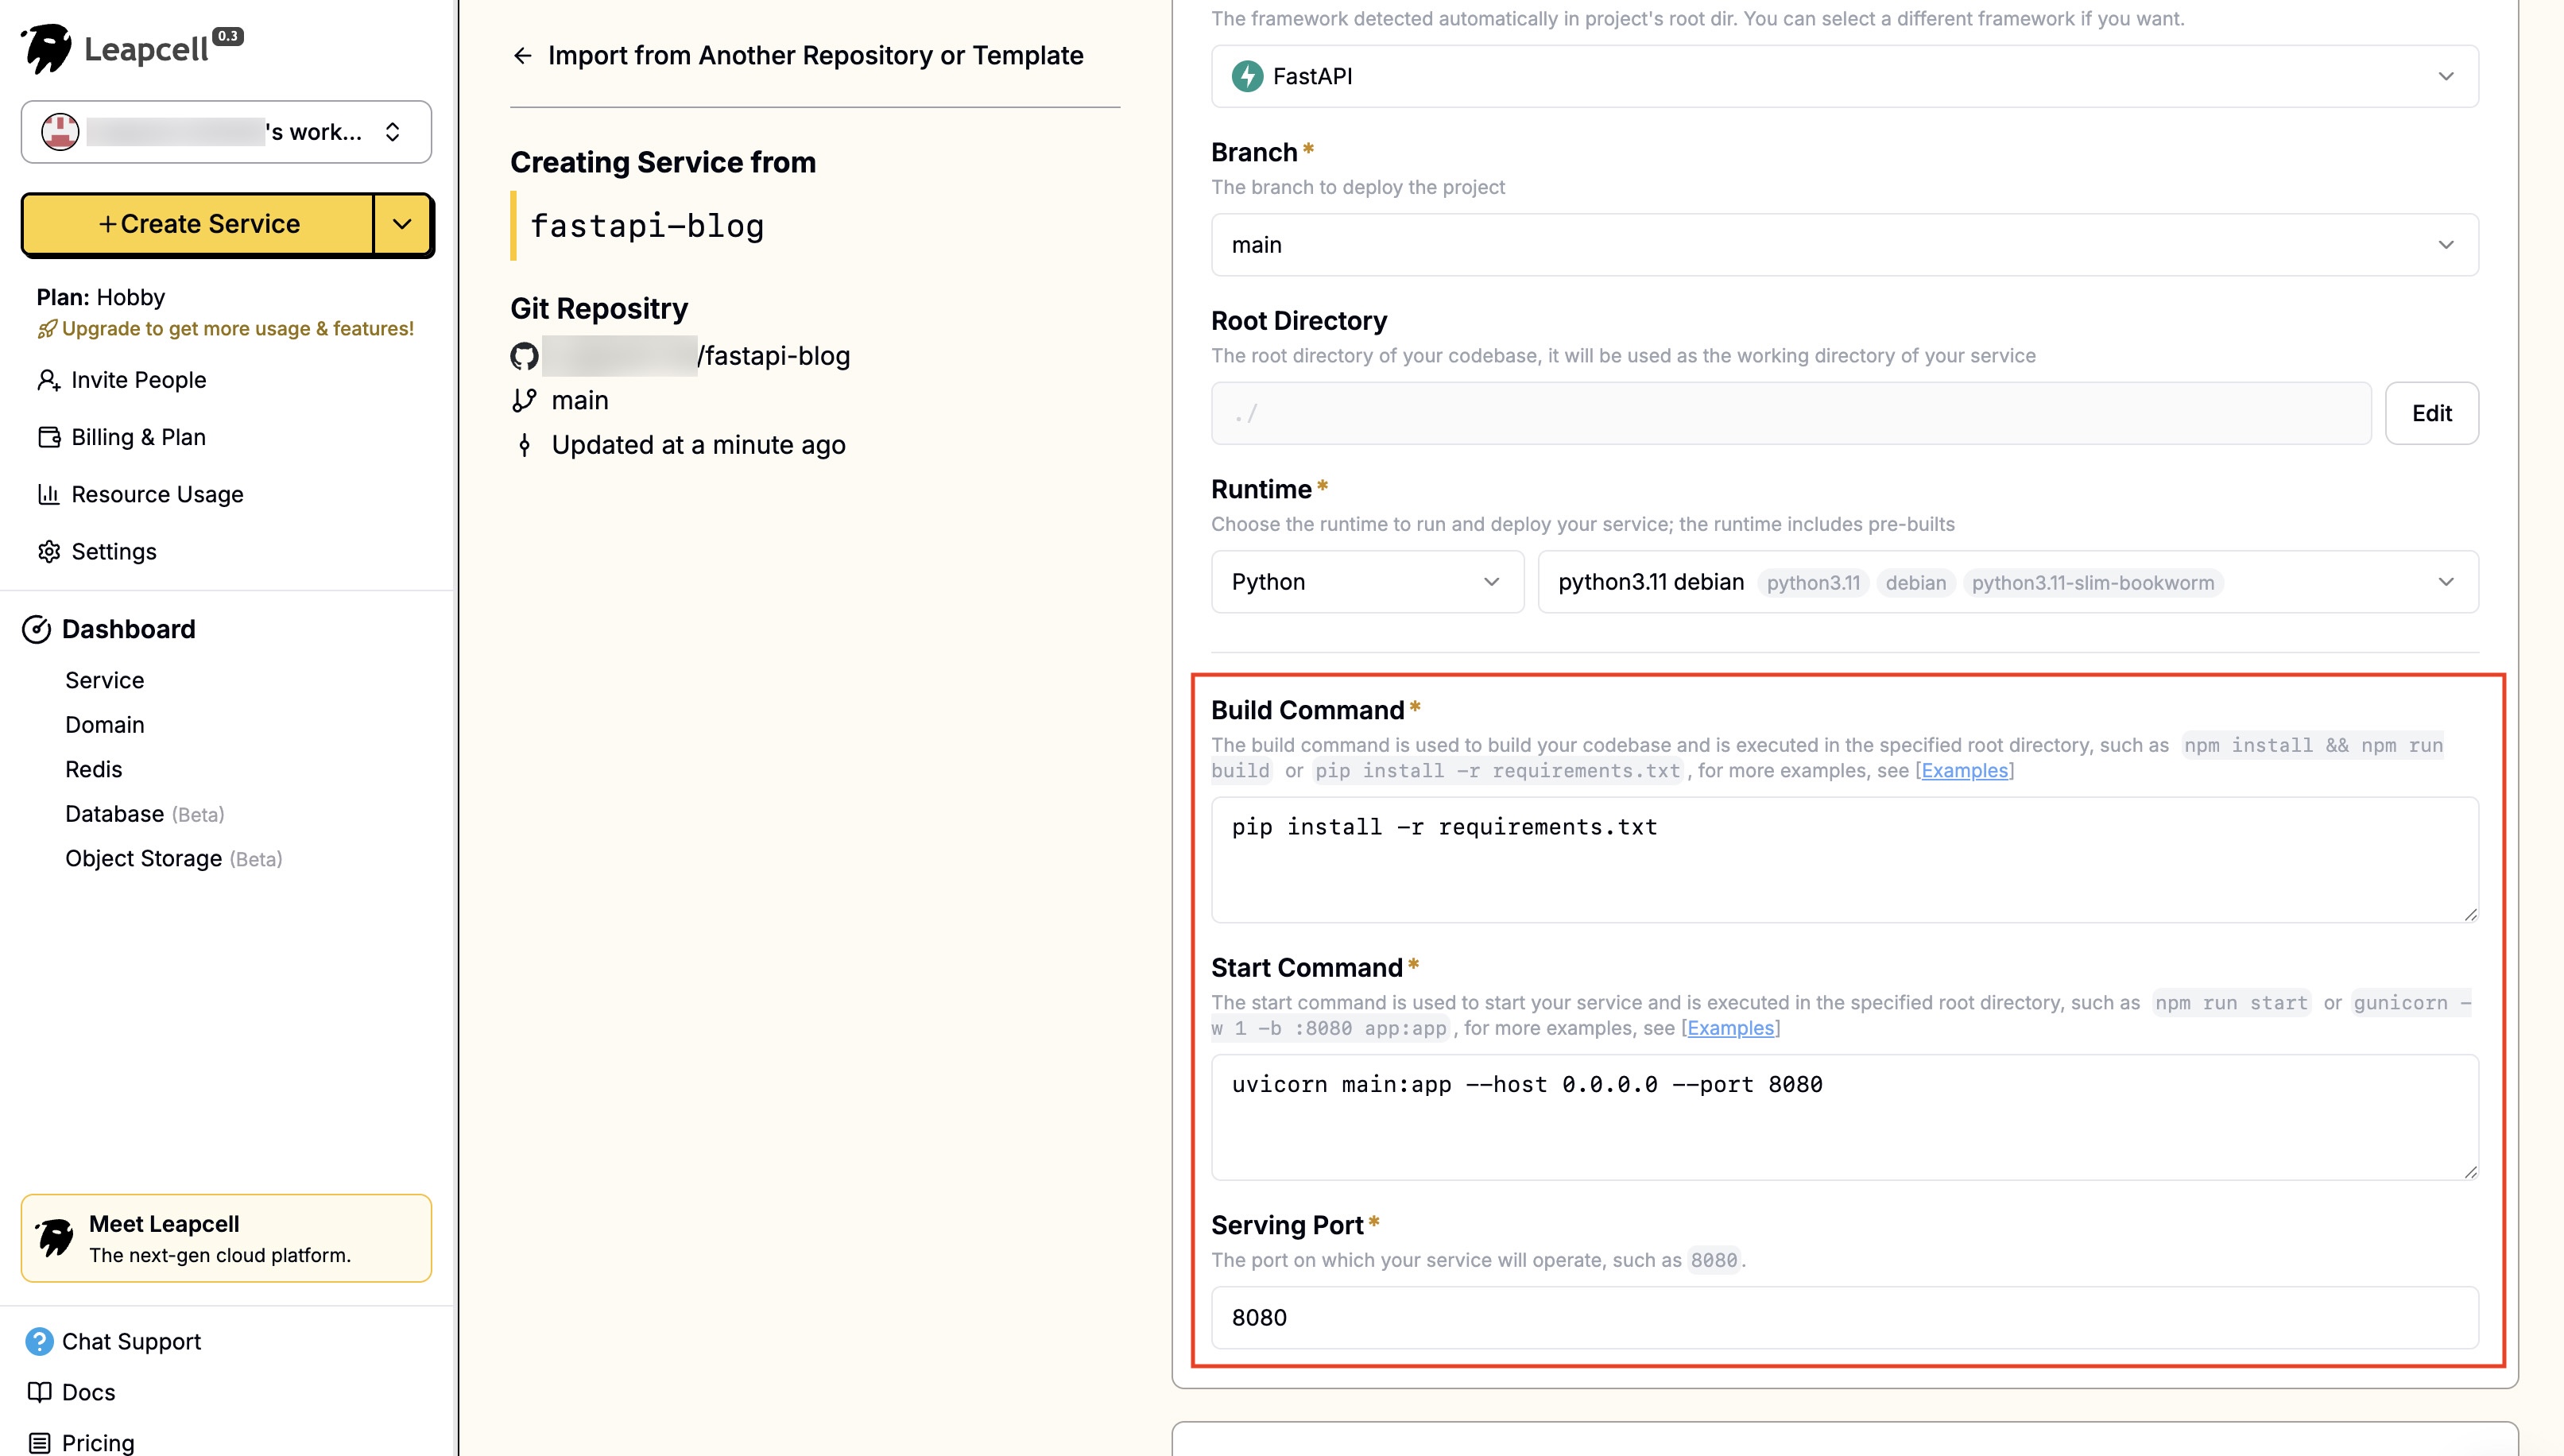
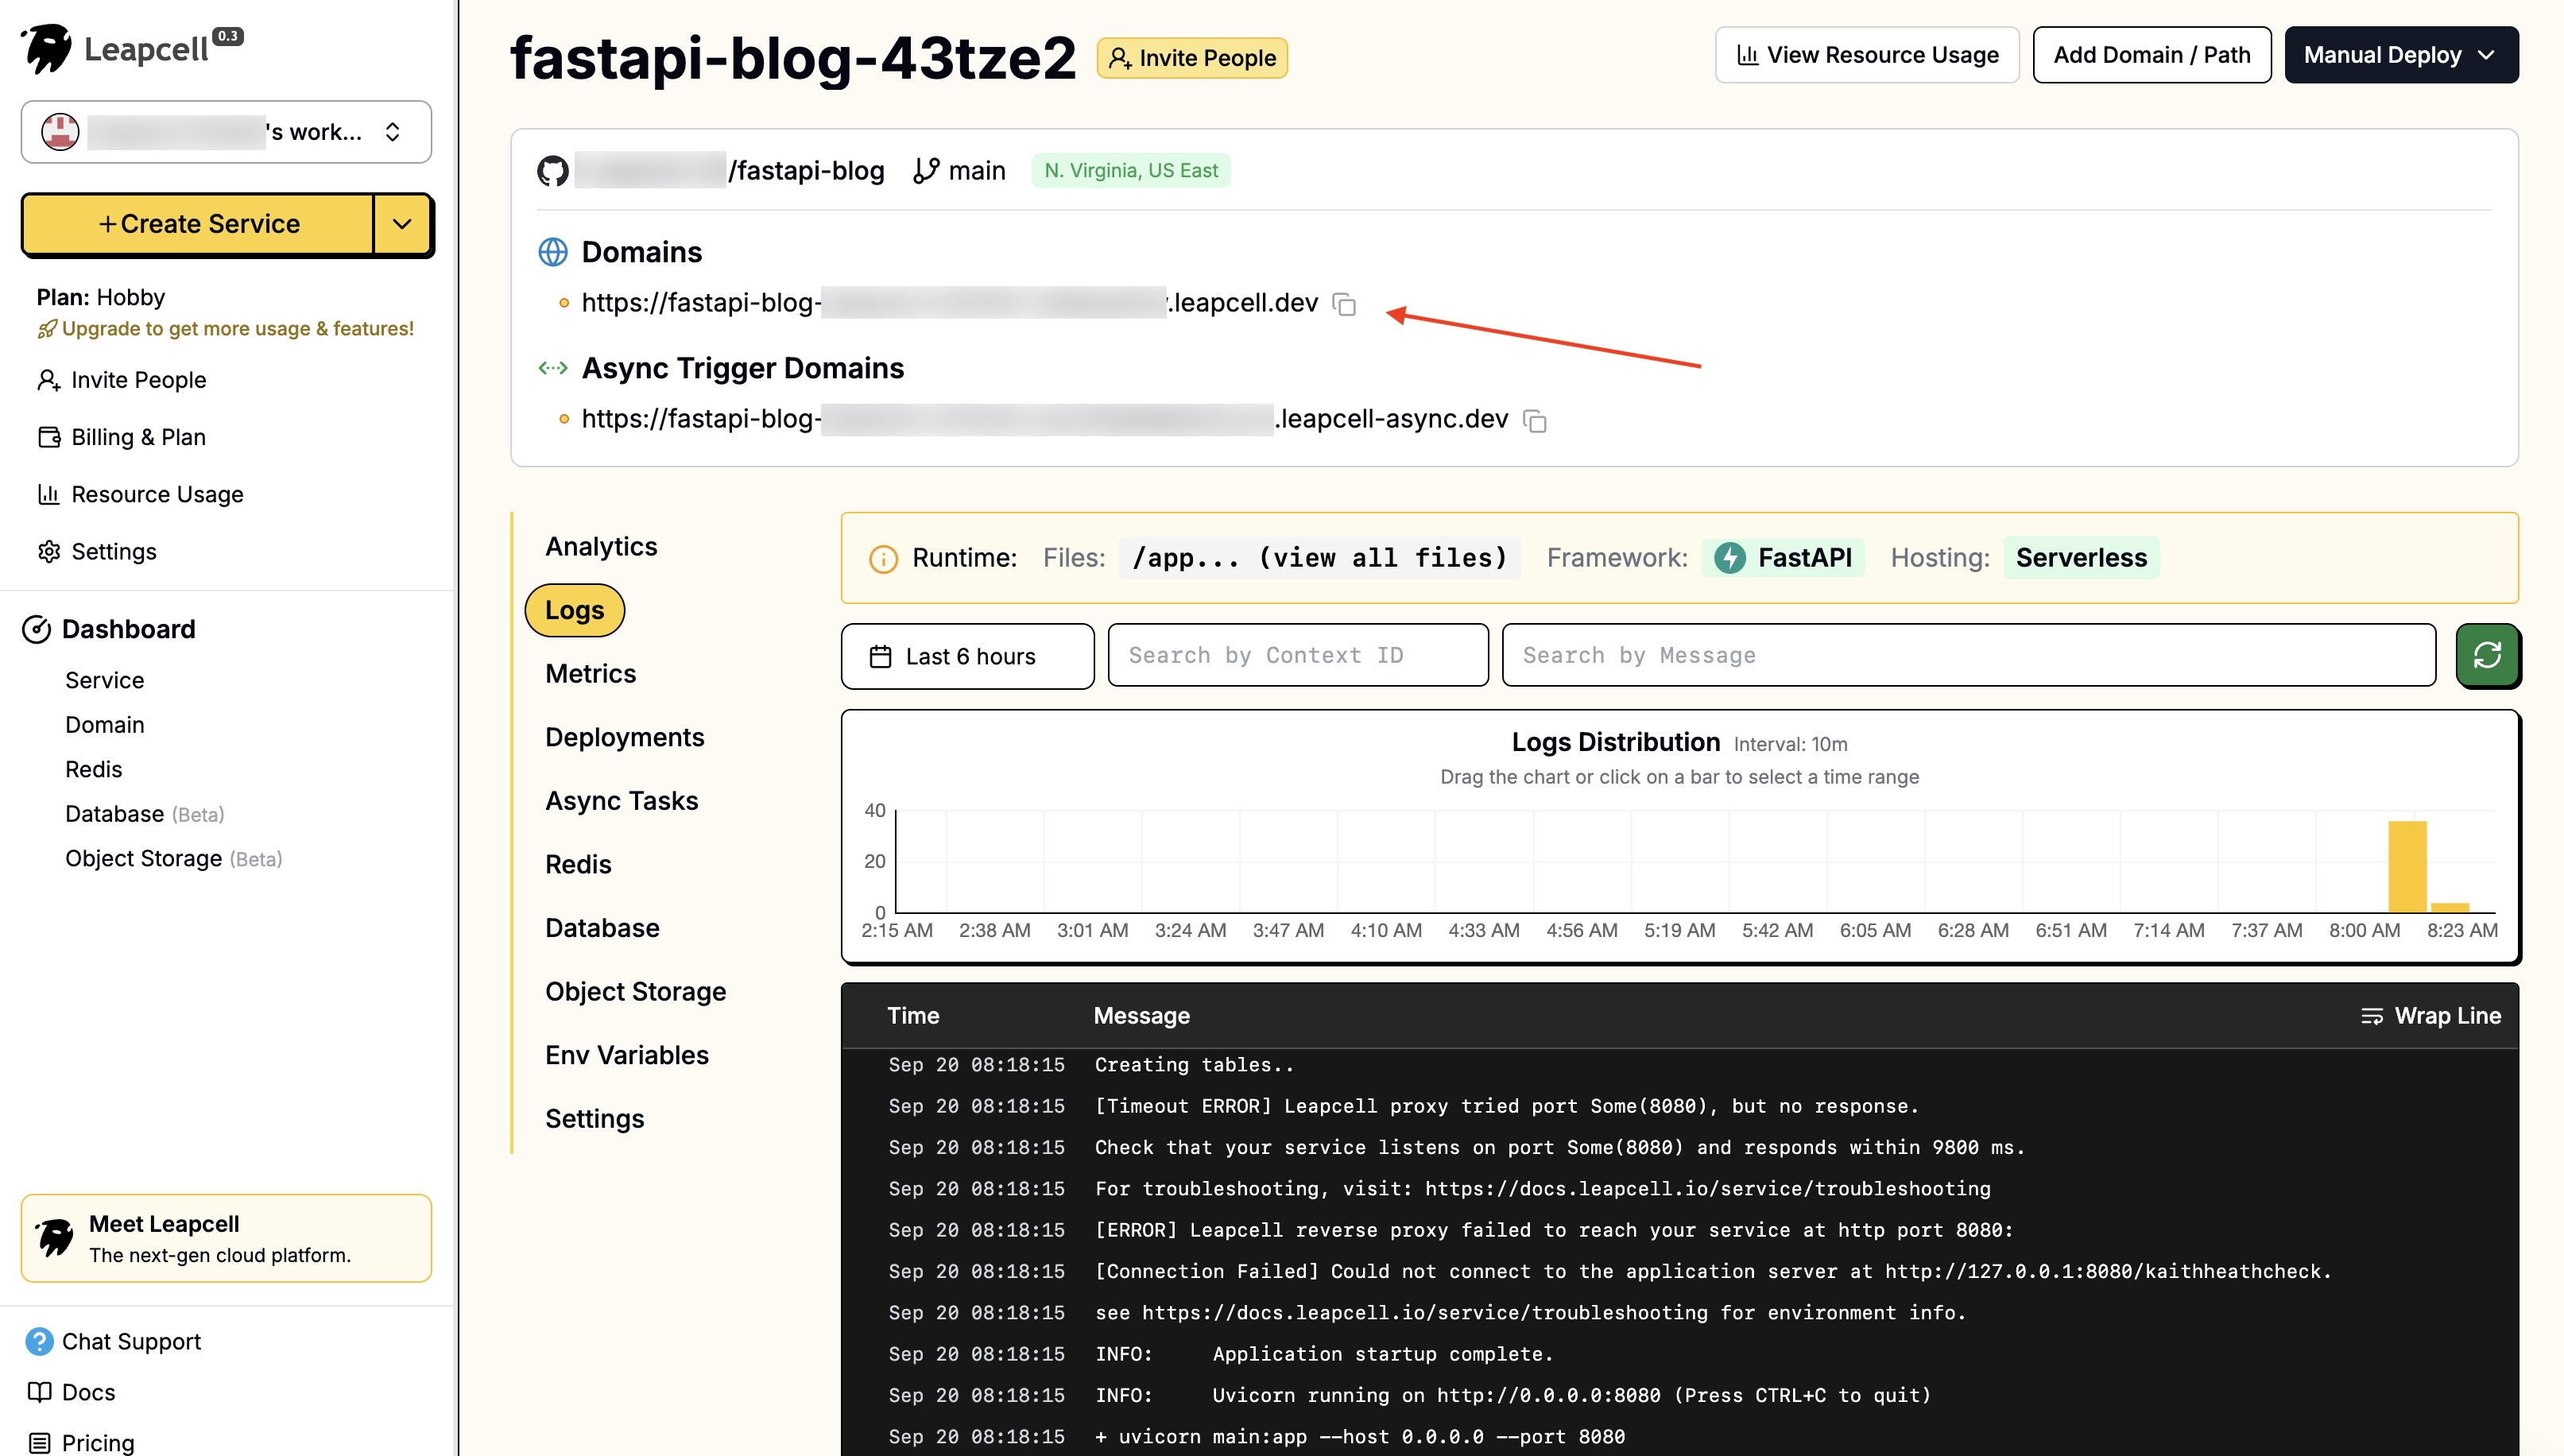
5.Click "Submit" at the bottom to deploy. The deployment will complete quickly and return you to the deployment homepage. Here we can see that Leapcell has provided a domain. This is the online address of your blog.
Summary
Congratulations! You have successfully taken the first step: setting up a FastAPI project and implementing basic HTML template rendering.
If you've used other documentation sites, you've probably noticed that their content isn't manually written in HTML. You just write Markdown, and the web pages are generated automatically.
In the next article, we will implement this core feature: dynamically reading a real Markdown file (e.g., docs/hello.md), parsing it into HTML, and injecting it into our web template.