FastAPI로 나만의 포럼 만들기: 9단계 - 이미지 업로드
Ethan Miller
Product Engineer · Leapcell

이전 게시물에서는 PostgreSQL의 내장 전문 검색 기능을 사용하여 포럼에서 게시물을 검색할 수 있도록 했습니다.
이제 게시물에 이미지를 업로드하는 기능을 추가하여 사이트의 기능을 더욱 풍부하게 만들겠습니다.
이미지 업로드 과정은 다음과 같습니다.
- 사용자가 이미지 파일을 선택하고 제출합니다.
- FastAPI가 데이터를 받으면 이미지를 S3와 같은 전용 객체 스토리지 서비스로 전달합니다.
왜 서버에 직접 저장하지 않을까요?
편리하지만 몇 가지 문제가 있습니다.
- 이미지에 대한 영구 스토리지를 유지 관리해야 합니다. 즉, 애플리케이션을 배포할 때마다 이미지 파일이 손실되지 않도록 해야 합니다.
- 서버에서 이미지를 제공하면 서버의 비싼 대역폭과 컴퓨팅 리소스가 소모됩니다. 객체 스토리지를 사용하여 처리하면 서버 컴퓨팅 리소스가 사용되지 않고 대역폭 비용도 훨씬 저렴합니다.
이것이 S3와 같은 외부 객체 스토리지 서비스를 사용해야 하는 이유입니다.
1단계: S3 스토리지 버킷 준비
S3 호환 스토리지 서비스가 필요합니다. 다음 중에서 선택할 수 있습니다.
- Leapcell. Leapcell은 웹사이트 구축, 데이터베이스 배포를 위한 올인원 백엔드 서비스를 제공하는 플랫폼이며 S3 호환 객체 스토리지도 포함합니다.
- Amazon S3(AWS 공식 서비스)
- S3 호환으로 표시된 한 다른 클라우드 제공업체.
다음으로 Leapcell을 예로 사용하겠습니다.

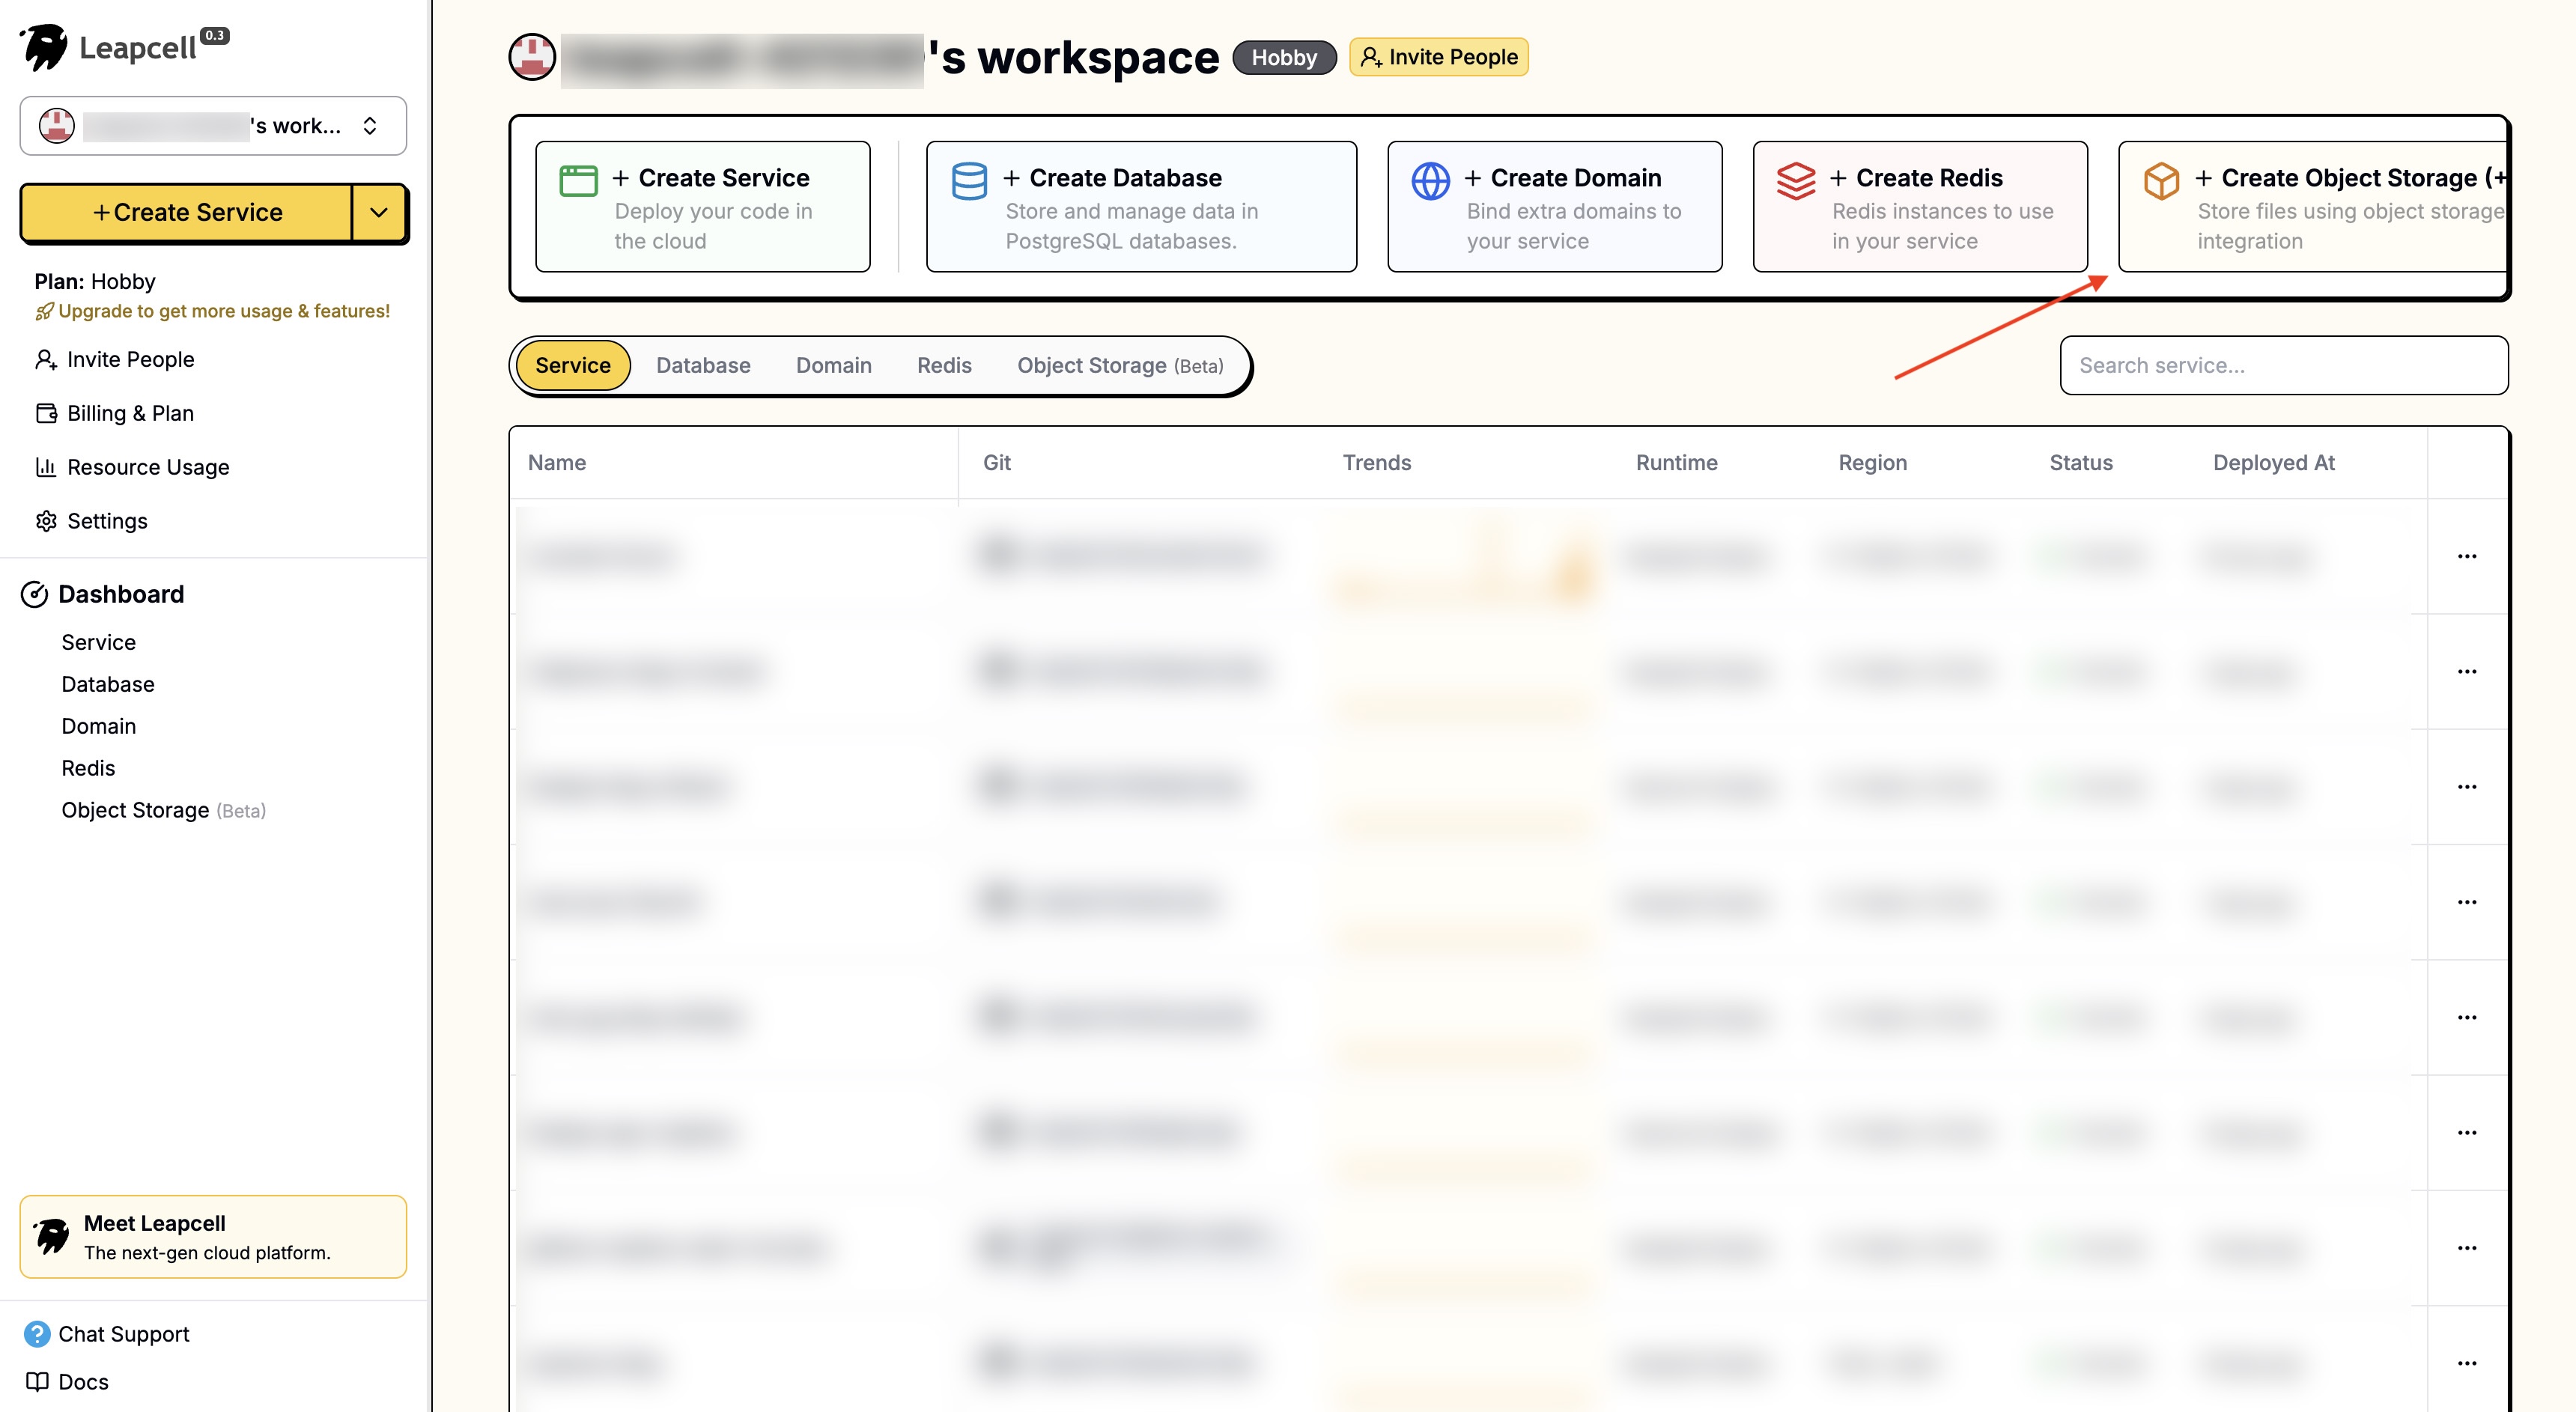
Leapcell 메인 인터페이스에 로그인하고 "객체 스토리지 생성"을 클릭합니다.
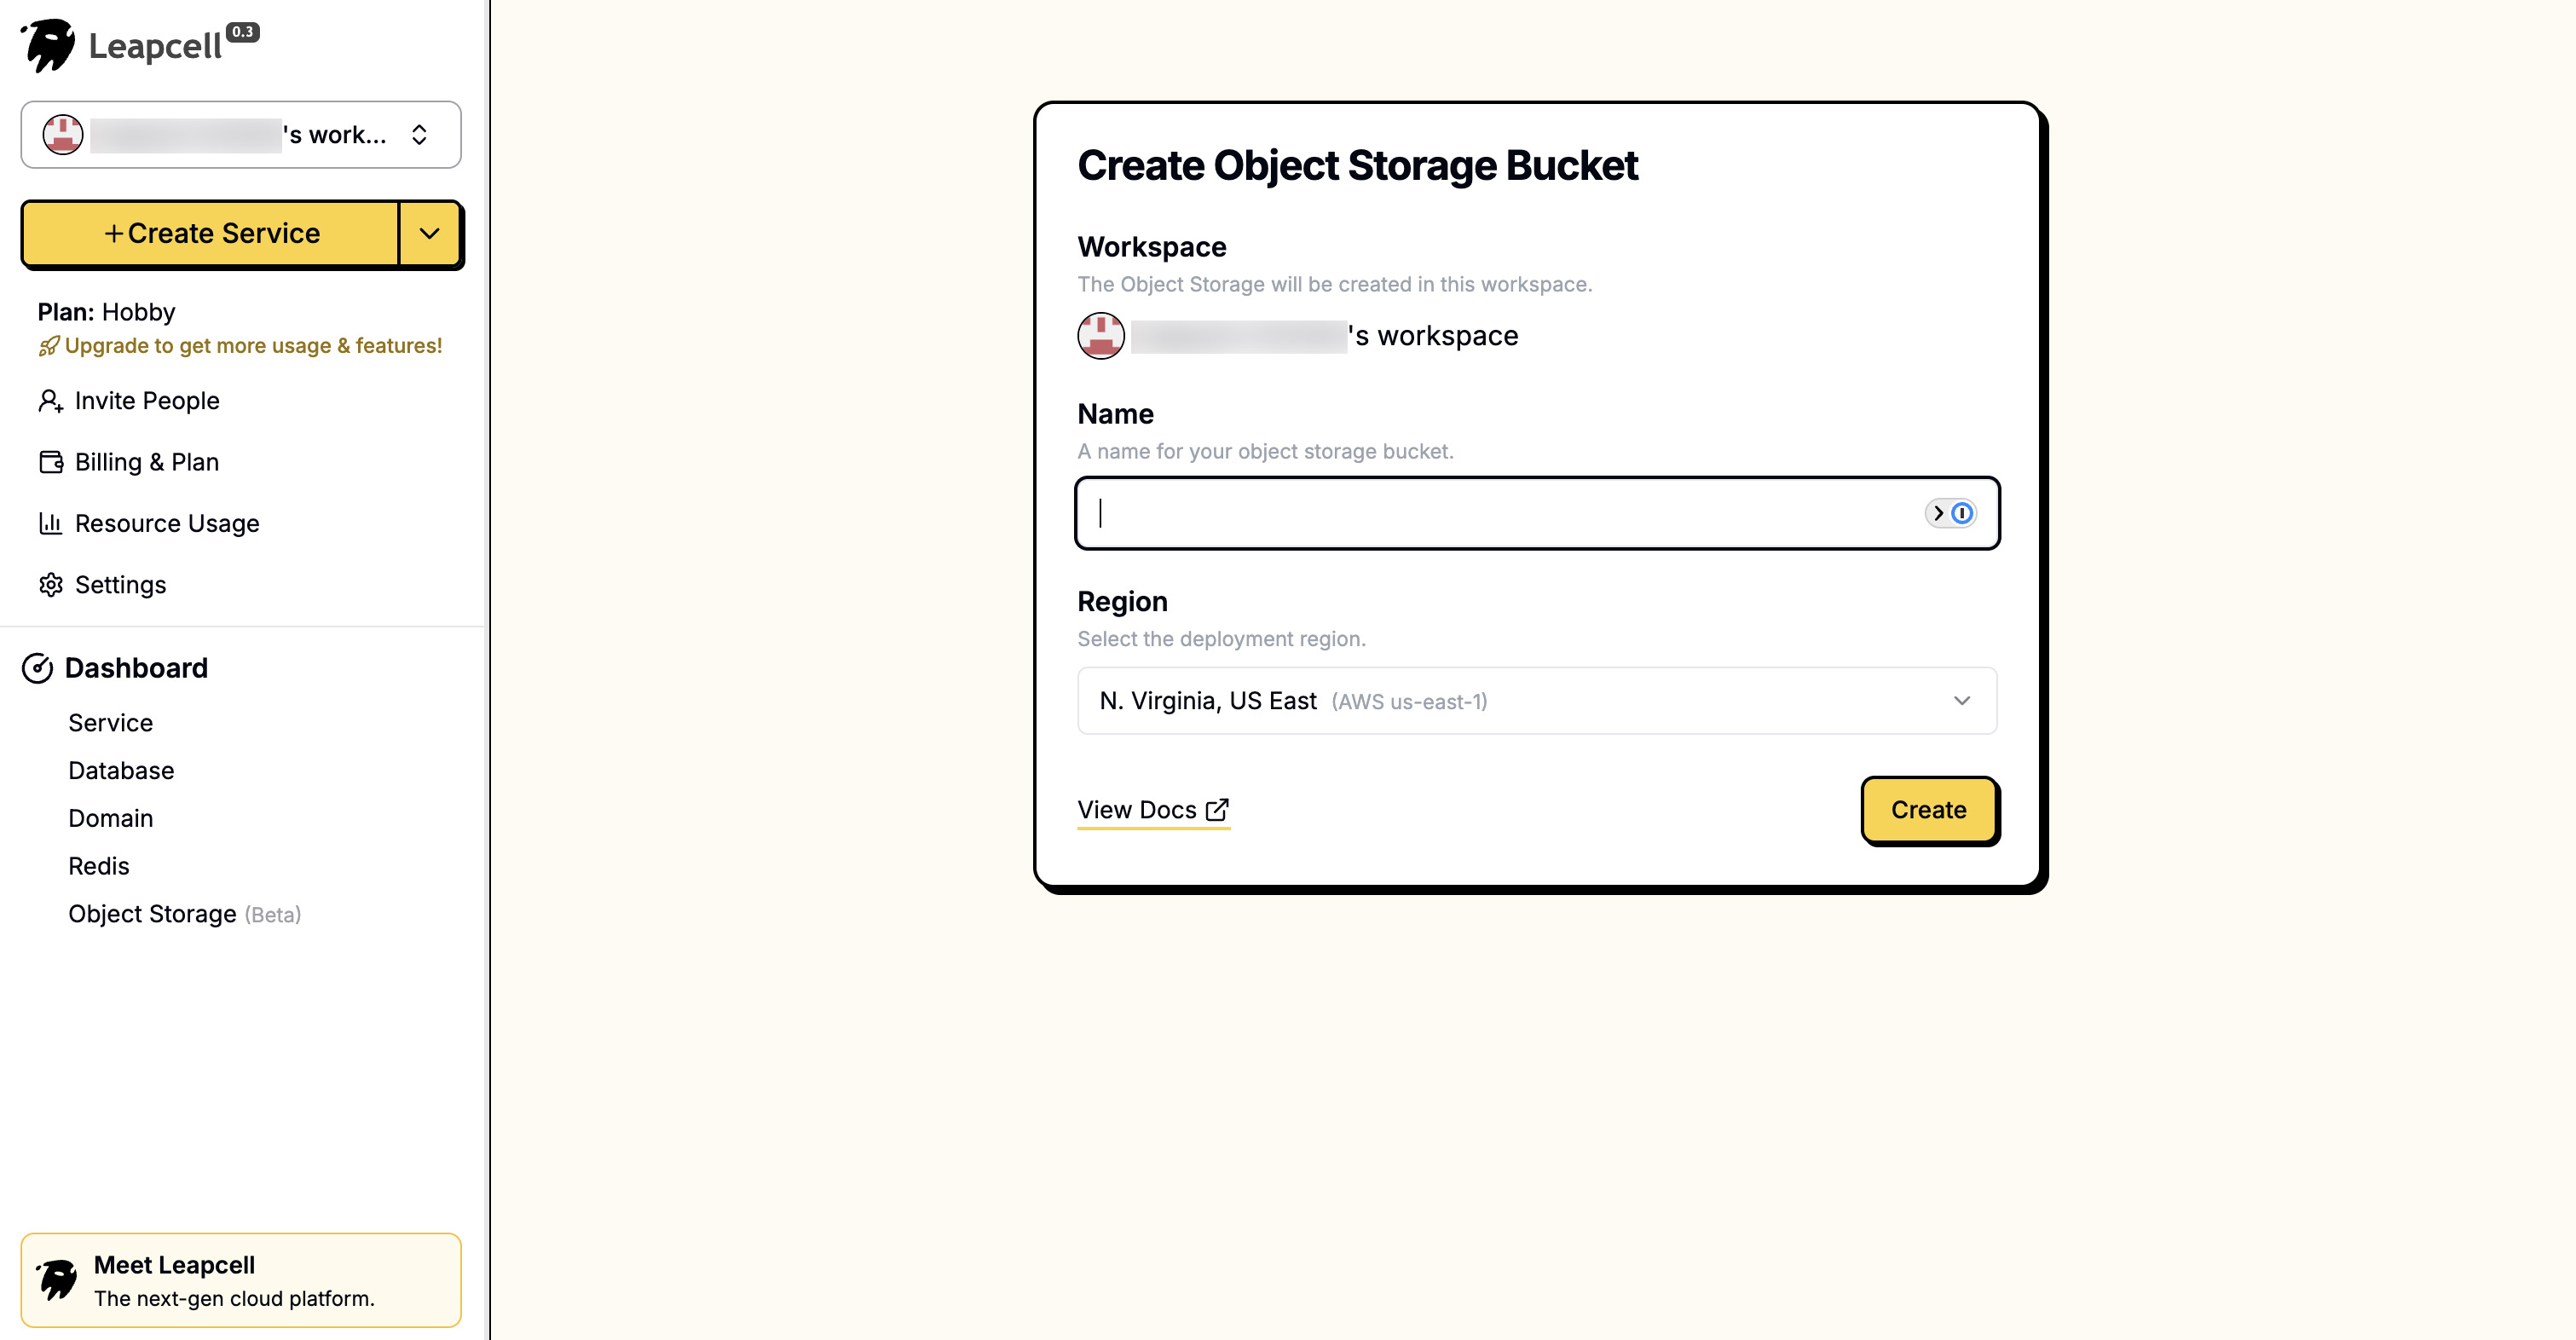
이름을 입력하여 객체 스토리지를 생성합니다.
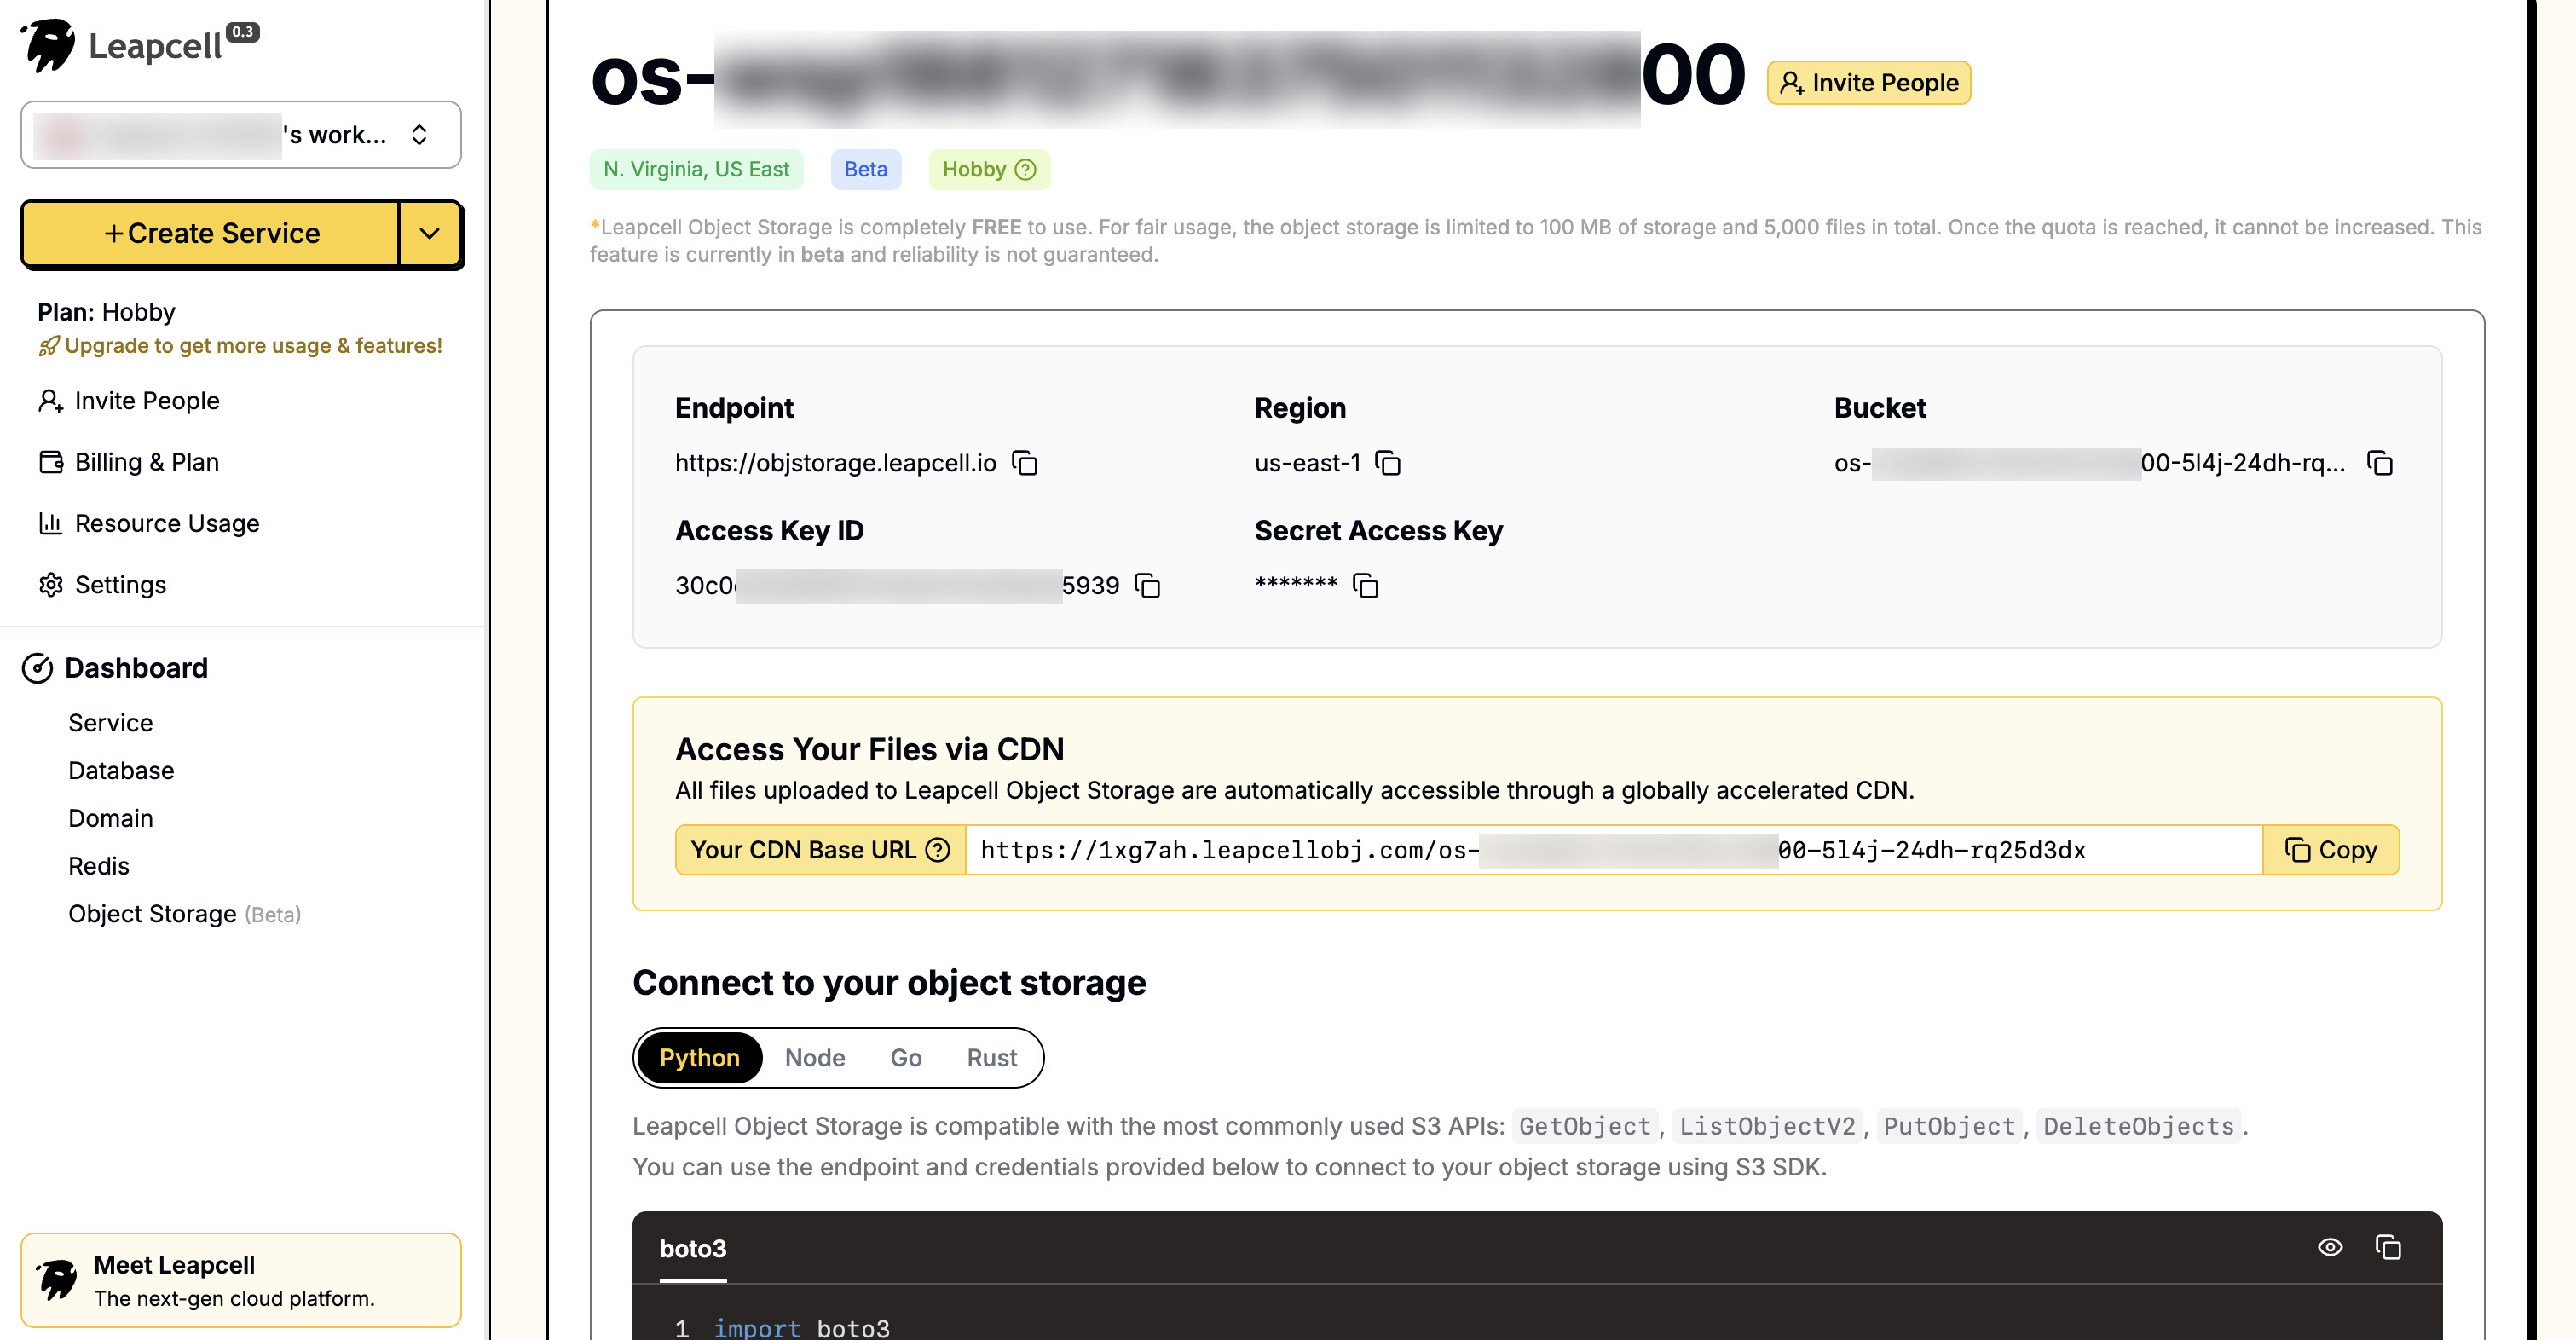
객체 스토리지 상세 페이지에서 엔드포인트, 액세스 키 ID, 보안 액세스 키를 볼 수 있으며, 이들은 연결에 사용되는 매개변수입니다. 나중에 백엔드 구성에서 사용합니다.
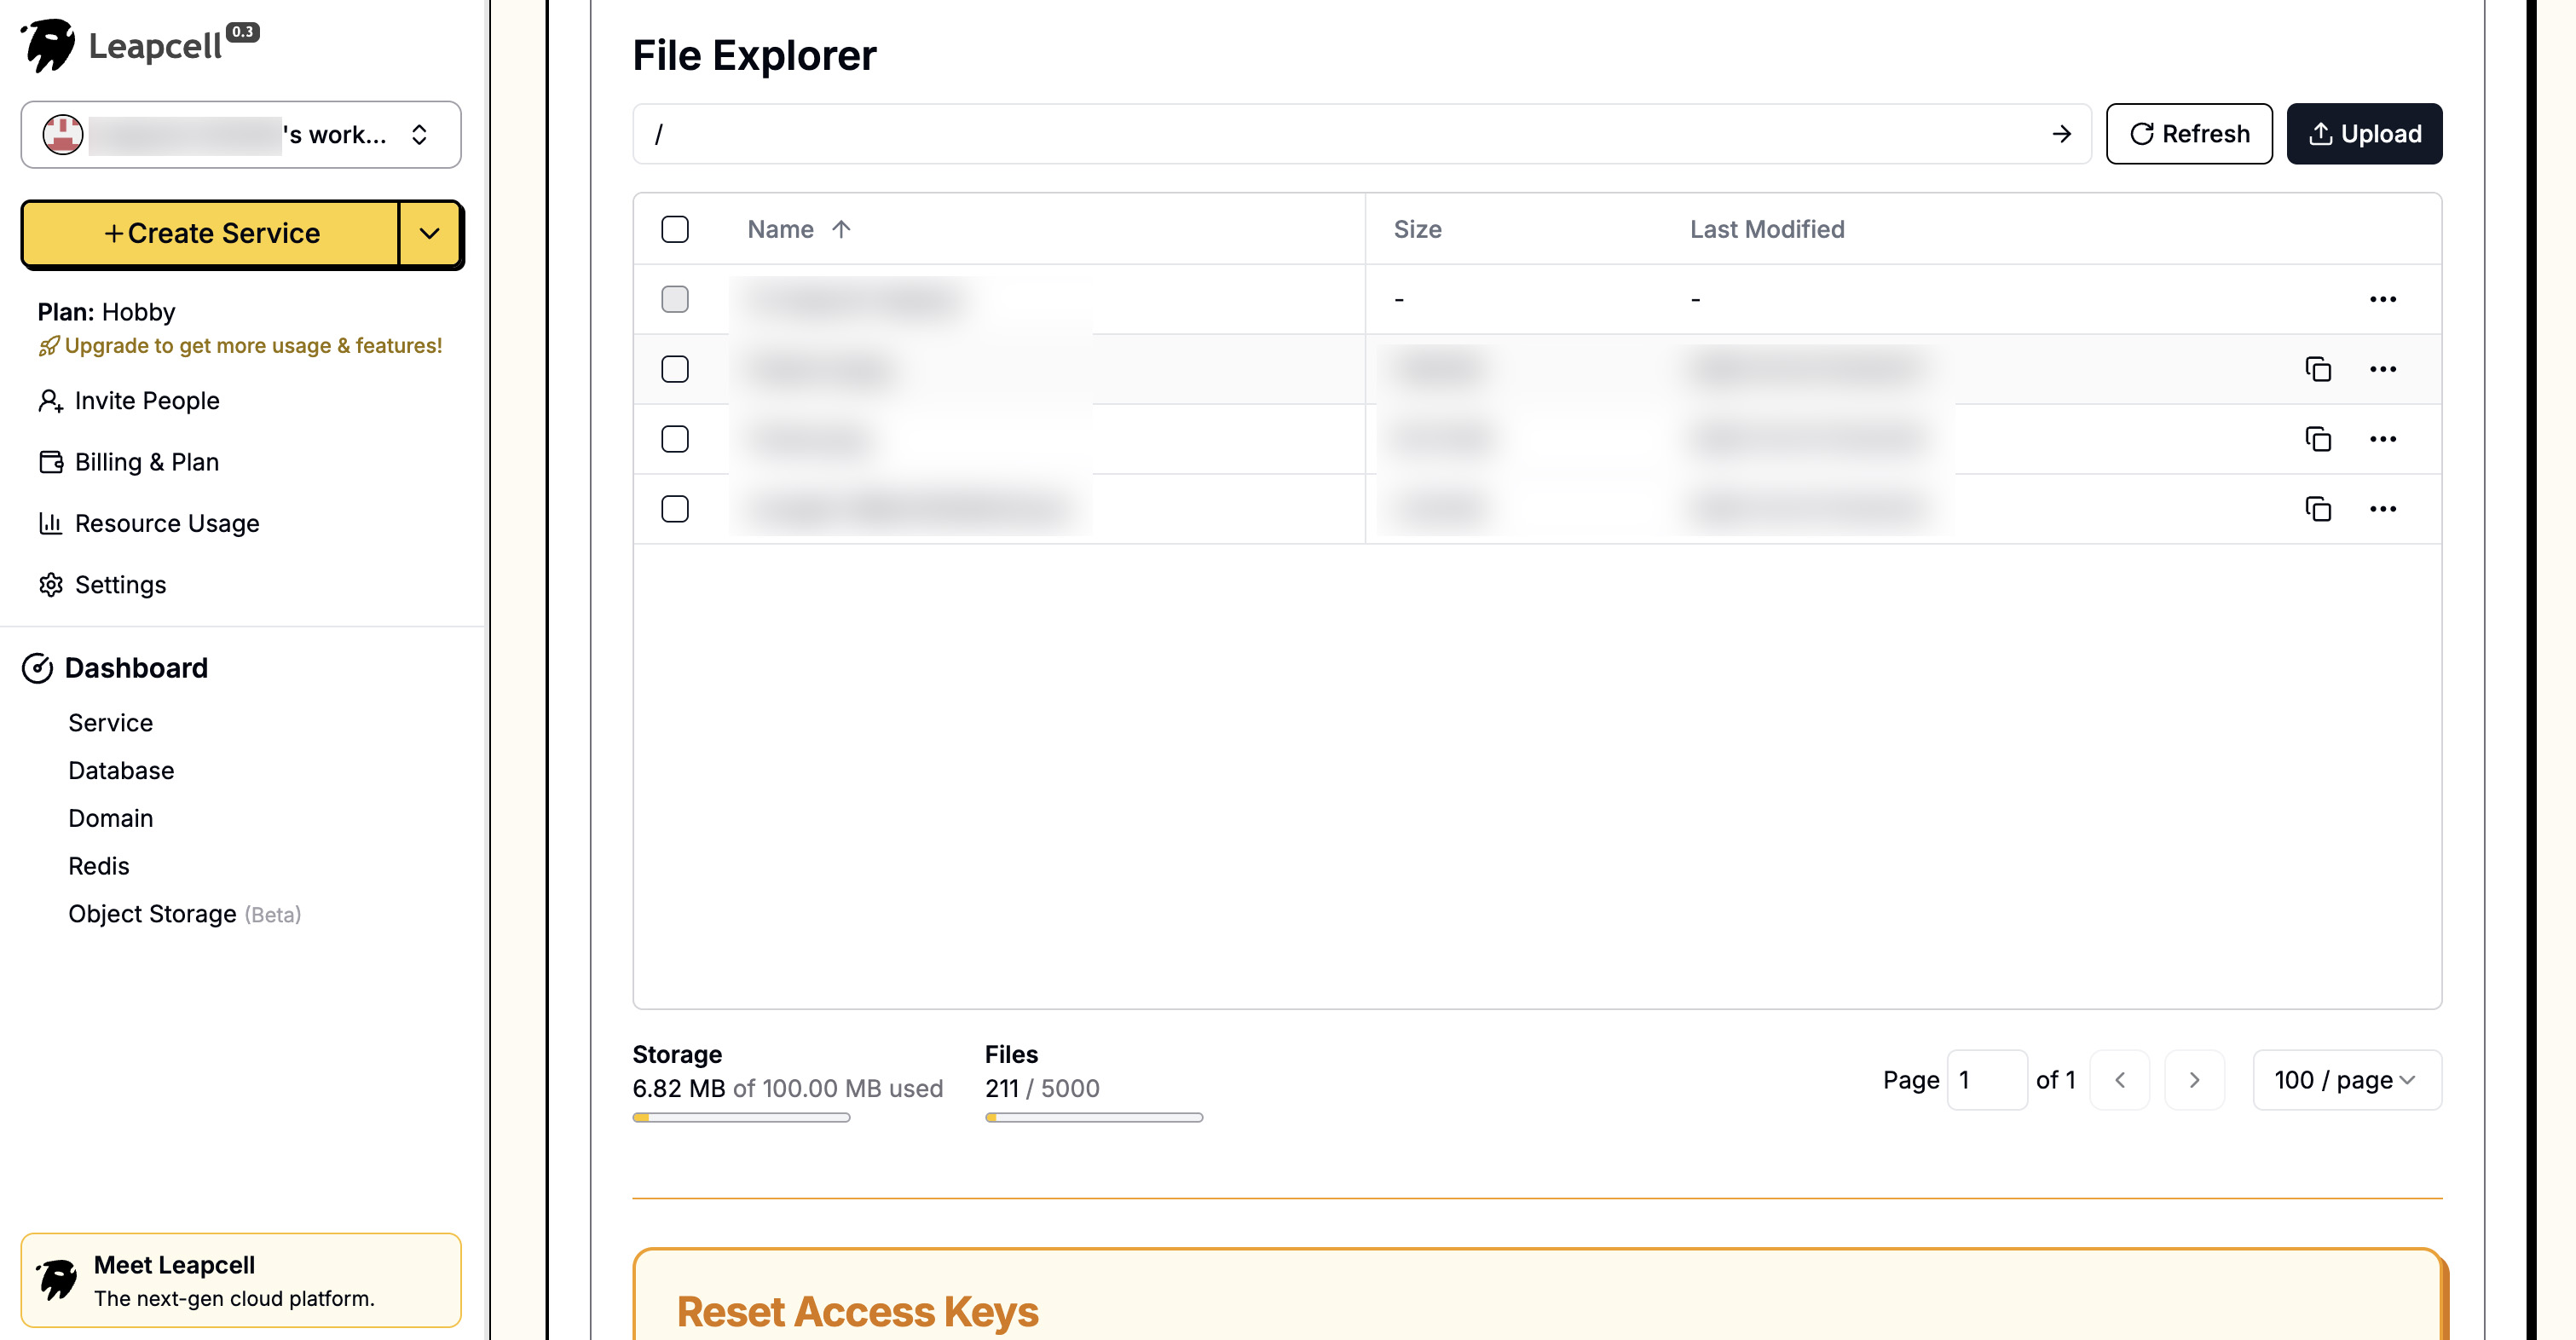
인터페이스는 또한 매우 편리한 UI를 제공하여 브라우저에서 직접 파일을 업로드하고 관리할 수 있습니다.
2단계: 종속성 설치
AWS 공식 Python SDK이며 모든 S3 프로토콜 서비스와 완벽하게 호환되는 boto3를 사용합니다.
pip install boto3
3단계: 구성 추가
프로젝트 루트 디렉토리에 config.py를 만들어 모든 객체 스토리지 구성을 중앙에서 관리합니다.
config.py
# S3 스토리지 구성
# 자신의 S3 정보로 교체해 주세요
S3_ENDPOINT_URL = "https.objstorage.leapcell.io"
S3_ACCESS_KEY = "YOUR_ACCESS_KEY"
S3_SECRET_KEY = "YOUR_SECRET_KEY"
S3_BUCKET_NAME = "your-bucket-name"
S3_PUBLIC_URL = "https://your-bucket-name.leapcellobj.com"
4단계: S3 업로드 유틸리티 생성
로직을 명확하게 하기 위해 파일 업로드를 처리하는 전용 파일 s3_utils.py를 새로 생성합니다.
s3_utils.py
import boto3
import uuid
import config

# S3 클라이언트 초기화
s3_client = boto3.client(
    's3',
    endpoint_url=config.S3_ENDPOINT_URL,
    aws_access_key_id=config.S3_ACCESS_KEY,
    aws_secret_access_key=config.S3_SECRET_KEY
)

def upload_file_to_s3(file_bytes: bytes, bucket_name: str, content_type: str, extension: str) -> str:
    """
    S3에 바이너리 파일 스트림 업로드
    :param file_bytes: 파일의 바이너리 내용
    :param bucket_name: 버킷 이름
    :param content_type: 파일의 MimeType
    :param extension: 파일 확장자
    :return: 파일의 공개 URL
    """

    # 고유한 파일 이름 생성
    file_name = f"uploads/{uuid.uuid4()}.{extension}"

    try:
        s3_client.put_object(
            Body=file_bytes,
            Bucket=bucket_name,
            Key=file_name,
            ContentType=content_type,
        )

        # 공개 URL 생성 및 반환
        public_url = f"{config.S3_PUBLIC_URL}/{file_name}"
        return public_url

    except Exception as e:
        print(f"S3 업로드 실패: {e}")
        return None
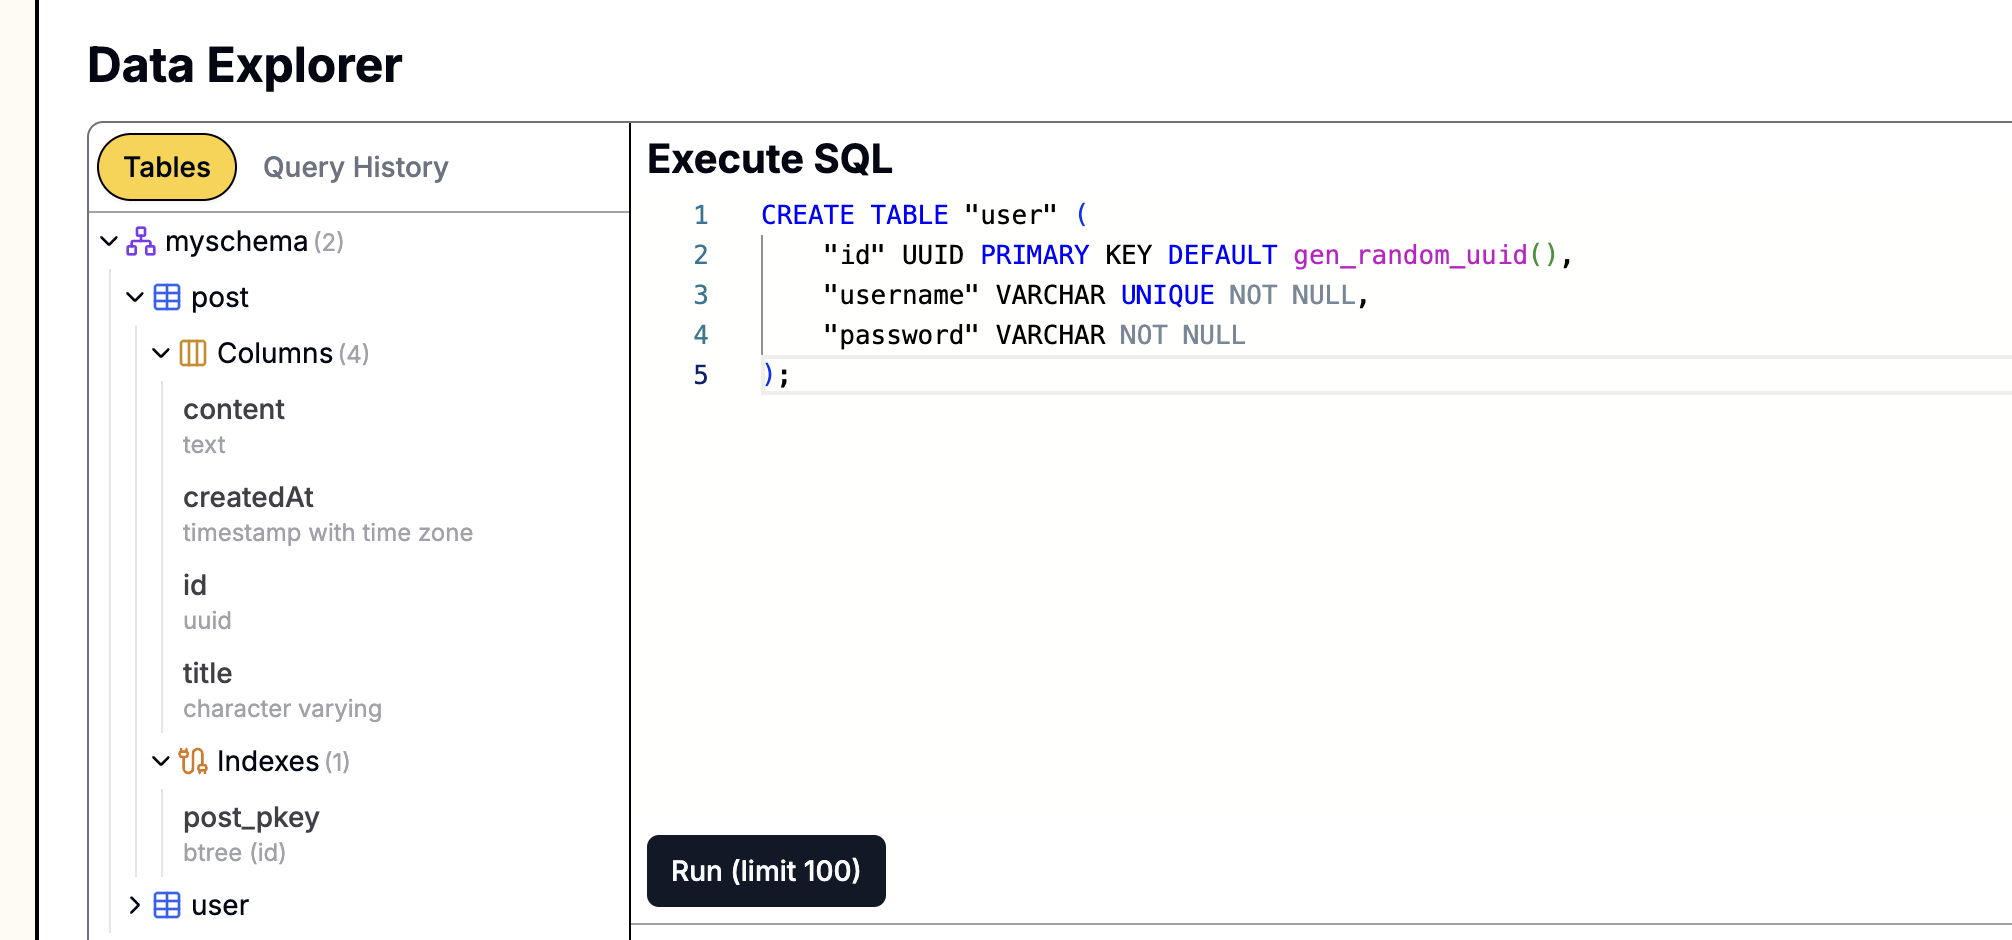
5단계: 데이터베이스 모델 업데이트
업로드된 이미지 URL을 저장하기 위해 posts 테이블에 필드를 추가해야 합니다.
models.py을 열고 Post 모델을 수정합니다.
models.py (Post 모델 업데이트)
from sqlalchemy import Column, Integer, String, ForeignKey, Boolean
# ... (기타 임포트) ...

class Post(Base):
    __tablename__ = "posts"

    id = Column(Integer, primary_key=True, index=True)
    title = Column(String, index=True)
    content = Column(String)
    owner_id = Column(Integer, ForeignKey("users.id"))

    # --- 새 필드 ---
    image_url = Column(String, nullable=True)
    # ---------------

    owner = relationship("User", back_populates="posts")
    comments = relationship("Comment", back_populates="post", cascade="all, delete-orphan")
    search_vector = Column(TSVECTOR, nullable=True)
또한 데이터베이스 테이블 구조를 업데이트해야 합니다. 해당 SQL 문은 다음과 같습니다.
ALTER TABLE posts ADD COLUMN image_url VARCHAR(512);
Leapcell을 사용하여 데이터베이스를 생성한 경우,
웹 기반 운영 패널에서 이 SQL 문을 직접 실행할 수 있습니다.
6단계: 백엔드 라우트 리팩토링
이제 main.py의 create_post 라우트를 수정하여 파일 업로드를 허용하도록 하겠습니다.
main.py (create_post 라우트 업데이트)
# ... (이전 임포트) ...
from fastapi import File, UploadFile
import s3_utils  # 방금 만든 유틸리티를 임포트합니다.
import config    # 구성을 임포트합니다.
import asyncio   # asyncio를 임포트합니다.

# ... (app, templates, dependencies 등은 변경되지 않습니다) ...

@app.post("/api/posts")
async def create_post(
    title: str = Form(...),
    content: str = Form(...),
    image: Optional[UploadFile] = File(None),  # 1. 이미지 파일 수락
    db: AsyncSession = Depends(get_db),
    current_user: Optional[models.User] = Depends(get_current_user)
):
    if not current_user:
        return RedirectResponse(url="/login", status_code=status.HTTP_302_FOUND)

    if current_user.is_banned:
        raise HTTPException(status_code=403, detail="You are banned and cannot create posts.")

    image_url = None

    # 2. 이미지 업로드 처리
    if image and image.filename:
        # 파일 유형 확인
        if image.content_type not in ["image/jpeg", "image/png", "image/gif"]:
            raise HTTPException(status_code=400, detail="Invalid file type. Only JPEG, PNG, GIF are allowed.")

        # 파일 내용 읽기
        file_bytes = await image.read()

        # 파일 확장자 가져오기
        extension = image.filename.split('.')[-1]

        # 3. asyncio.to_thread를 사용하여 차단되는 S3 업로드를 백그라운드 스레드에서 실행
        # Boto3(s3_client.put_object)는 차단 I/O 작업입니다.
        # in
        image_url = await asyncio.to_thread(
            s3_utils.upload_file_to_s3,
            file_bytes,
            config.S3_BUCKET_NAME,
            image.content_type,
            extension
        )

        if not image_url:
            raise HTTPException(status_code=500, detail="Image upload failed.")

    # 4. image_url을 포함한 Post 객체 생성
    new_post = models.Post(
        title=title,
        content=content,
        owner_id=current_user.id,
        image_url=image_url  # URL 저장
    )

    db.add(new_post)
    await db.commit()
    await db.refresh(new_post)
    return RedirectResponse(url="/posts", status_code=status.HTTP_303_SEE_OTHER)

# ... (다른 모든 라우트는 변경되지 않습니다) ...
주요 변경 사항은 다음과 같습니다.
create_post매개변수에image: Optional[UploadFile] = File(None)이 포함됩니다.image매개변수의 내용을 읽고(await image.read())s3_utils.upload_file_to_s3를 호출하여 이미지를 객체 스토리지에 업로드합니다.- 마지막으로
models.Post객체를 생성할 때 이전 단계에서 반환된image_url을 데이터베이스에 저장합니다.
7단계: 프런트엔드 템플릿 업데이트
마지막으로 파일 업로드 필드를 추가하고 이미지를 표시하도록 프런트엔드 페이지를 업데이트해야 합니다.
templates/posts.html (업데이트됨)
... (head와 style은 변경되지 않음) ...
<body>
    <header>
        ... (header 내용은 변경되지 않음) ...
    </header>
    <form action="/search" method="GET" style="display: flex;">
        ... (검색 폼은 변경되지 않음) ...
    </form>

    {% if current_user and not current_user.is_banned %}
    <h2>Create New Post</h2>
    <form action="/api/posts" method="post" enctype="multipart/form-data">
        <input type="text" name="title" placeholder="Post Title" required /><br />
        <textarea name="content" rows="4" placeholder="Post Content" required></textarea><br />

        <label for="image">Upload Image (Optional, JPE/PNG/GIF):</label>
        <input type="file" name="image" id="image" accept="image/jpeg,image/png,image/gif" />
        <br /><br />

        <button type="submit">Post</button>
    </form>
    {% elif current_user and current_user.is_banned %}
        ... (차단 메시지) ...
    {% else %}
        ... (로그인 프롬프트) ...
    {% endif %}

    <hr />
    <h2>Post List</h2>

    {% for post in posts %}
    <div class="post-item">
        <a href="/posts/{{ post.id }}"><h3>{{ post.title }}</h3></a>

        {% if post.image_url %}
        <img src="{{ post.image_url }}" alt="{{ post.title }}" style="max-width: 400px; height: auto; margin-bottom: 10px;" />
        {% endif %}

        <p>{{ post.content }}</p>
        <small>Author: {{ post.owner.username if post.owner else 'Unknown' }}</small>

        {% if current_user and post.owner_id == current_user.id %}
            ... (편집 링크) ...
        {% endif %}
    </div>
    {% endfor %}
</body>
</html>
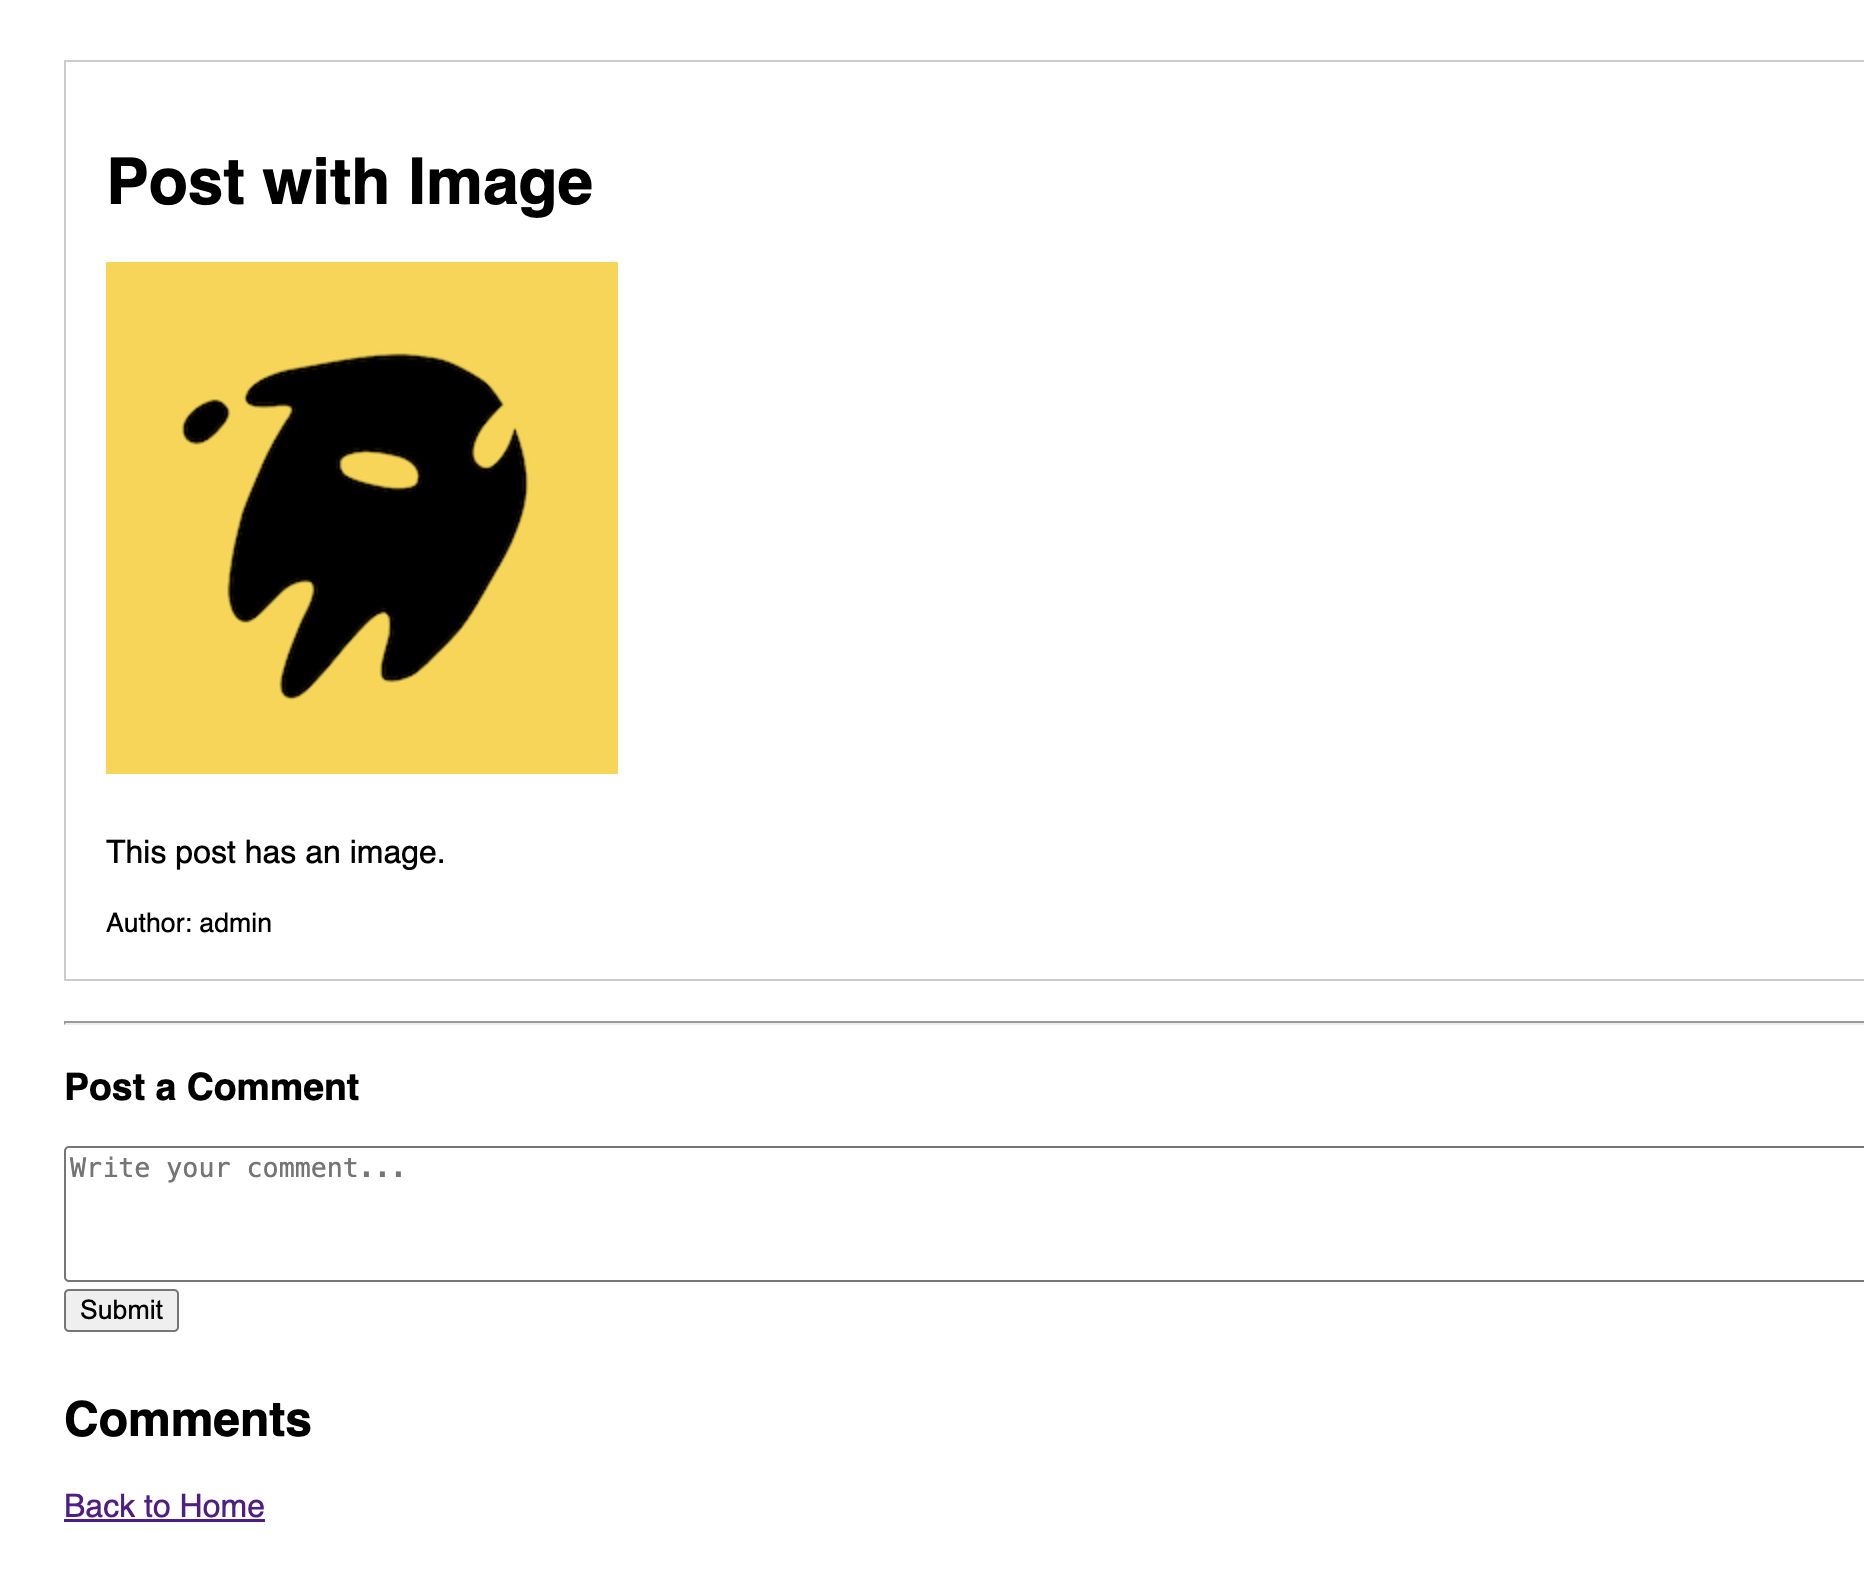
templates/post_detail.html (업데이트됨)
... (head와 style은 변경되지 않음) ...
<body>
    <div class="post-container">
        <h1>{{ post.title }}</h1>

        {% if post.image_url %}
        <img src="{{ post.image_url }}" alt="{{ post.title }}" style="max-width: 600px; height: auto; margin-bottom: 10px;" />
        {% endif %}

        <p>{{ post.content }}</p>
        <small>Author: {{ post.owner.username }}</small>
    </div>

    ... (댓글 폼과 댓글 섹션은 변경되지 않음) ...
</body>
</html>
실행 및 확인
uvicorn 서버를 다시 시작합니다.
uvicorn main:app --reload
http://127.0.0.1:8000을 방문합니다.
"새 게시물 만들기" 폼에서 파일 선택 버튼을 볼 수 있습니다.
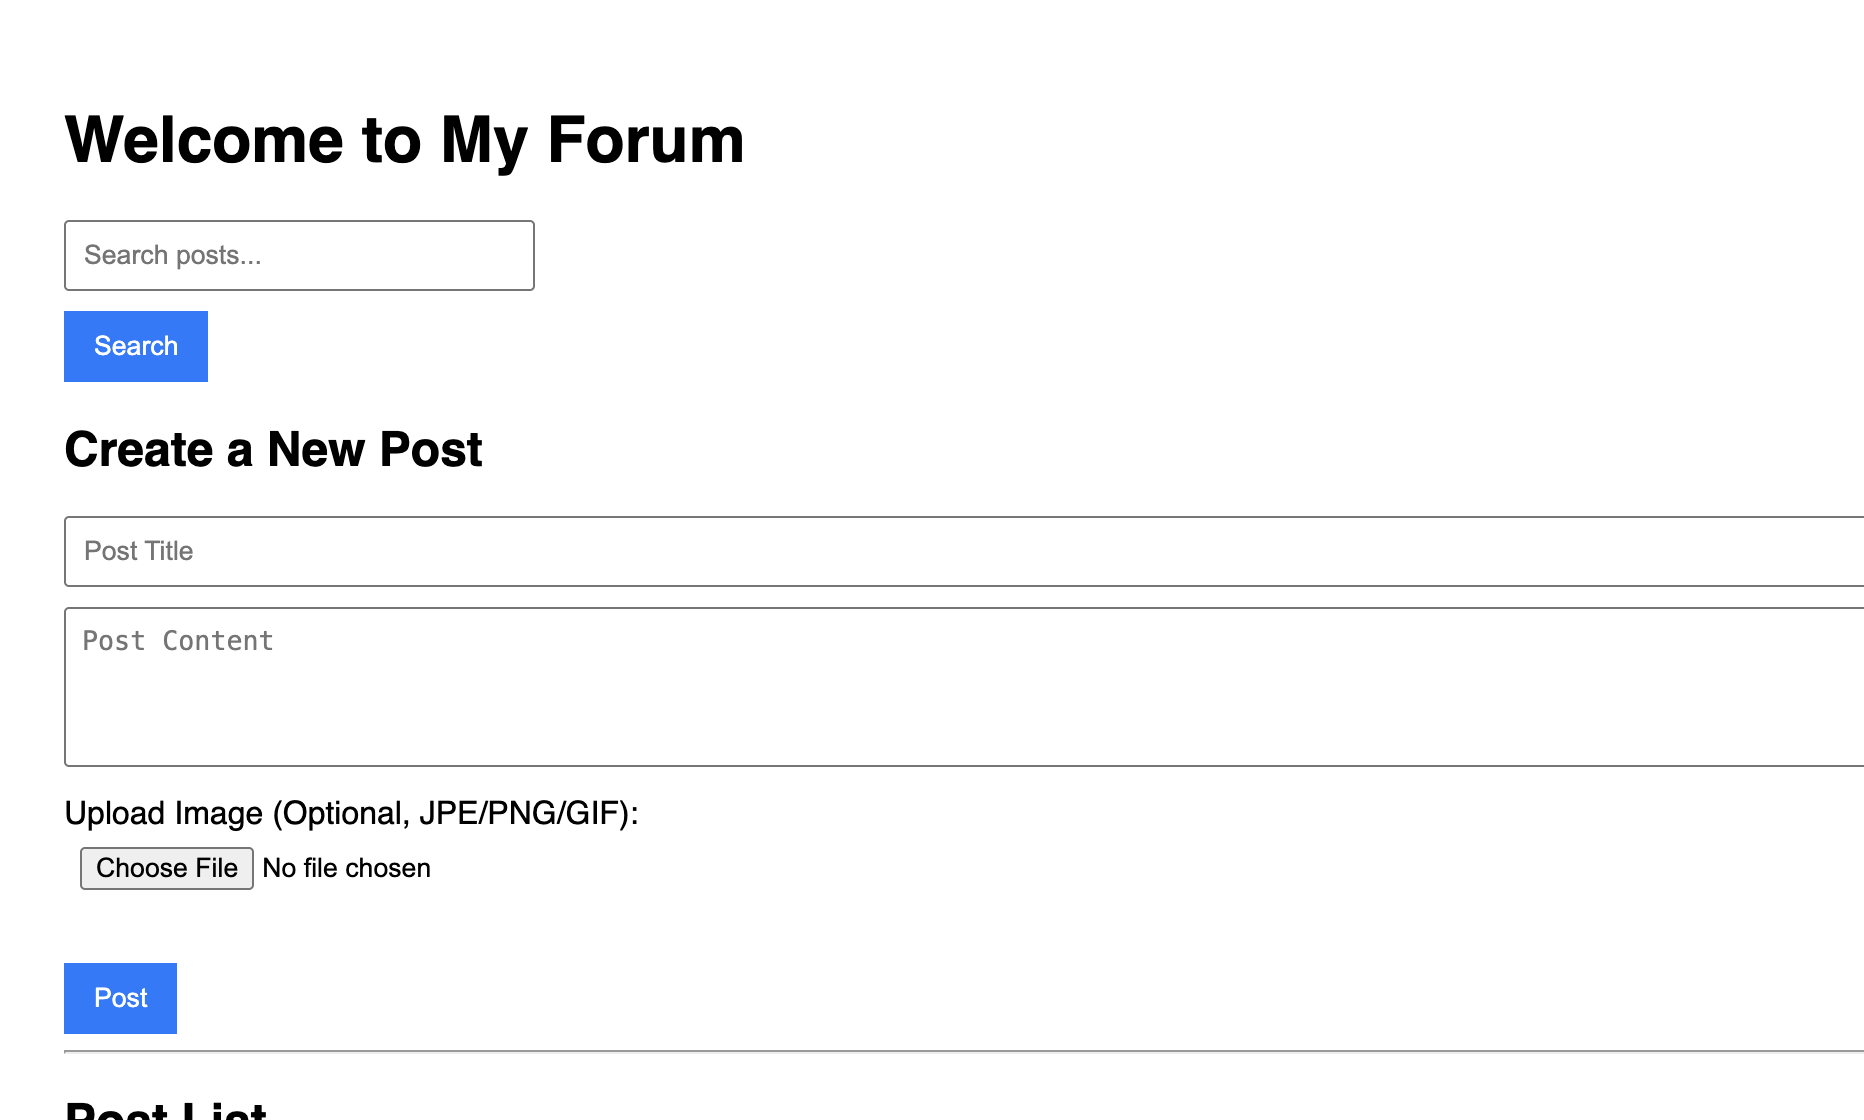
이미지를 첨부하여 새 게시물을 게시해 보세요. 제출 후 게시물에서 업로드한 이미지를 볼 수 있습니다.
결론
객체 스토리지를 사용하여 포럼에 이미지 업로드 기능을 성공적으로 추가했습니다.
현재 모든 게시물이 같은 페이지에 몰려 있습니다. 포럼 콘텐츠가 늘어남에 따라 매우 혼잡해질 것입니다.
다음 게시물에서는 포럼에 **카테고리(하위 포럼)**를 추가하여 게시물을 다양한 주제별로 구성하여 포럼을 더 구조화할 것입니다.